Showing posts with label experimenting. Show all posts

Invitation to Paint with Recycled Materials

Oct 18, 2012


Instead of always giving your child directions as to how they are expected to play, I like to mix it up and create "invitations" to play where children can explore and figure out for themselves what they can do. This type of open-ended activity allows the child to take the activity to a level they are comfortable with while giving them the freedom to explore different angles.

What is an Invitation to Play? See here for more info.

Today's Invitation to Play is an Invitation to Paint with Recycled Materials. 

This activity will allow children to examine different patterns, textures, colours, methods, shapes and combinations while also encouraging creativity, fine motor skills, hand-eye coordination and more.

Ages: 2-6+
(M was 3y/o here. See the Handy Tips at the bottom for ideas to extend or simplify this activity to suit your child's needs)


Materials: Paper, paint, recycled materials (we used a cardboard tube, straw, feather, plastic lid, bubble wrap and a fake flower)


Using hand-eye coordination and control to print and lift off without smudging. An acquired skill


Observe colours mixing and make prints


Look and think about consistency and air pressure while blowing paint through a straw


Make and observe patterns, colour mixing and shapes


Create different textures and sweeping motions with a feather


Be creative, experiment, talk, observe and learn


Handy Tips

- Extend this activity by encouraging your child to integrate multiple recycled items and incorporate them to create one picture or design. Examine the different shapes/patterns etc that each material produces and come up with a use for each of them. 

-Simplify this activity by encouraging your child to experiment with the different prints each item makes. Perhaps start with fewer items or one item at a time to really identify the different ways to paint with that item.

- Repeat this activity time and time again with a different end result each time. Mix around and change some of the materials that you provide each time to inspire new ideas

- Remember that children need to create and explore, they don't need it to be a specific item at the end. Allow this and don't push them to think they must make something "real." Certainly with an activity such as this, the process is more important then the outcome.

- Talk with your child about what they are doing. This will help them understand the physical and mental processes they are going through as well as giving them the vocabulary to describe it.


Looking for more ways to paint?

Have a look at these other fun ideas:


Happy playing,
Debs :)


New Here? Subscribe to get all activities sent directly to you
Enter your email address:


Delivered by FeedBurner

Are you on Facebook? We are and we'd love to see you there. You can also find us on Pinterest, Twitter  and G+ too. :) 


Continue reading...


Shower Sponge Painting

Jun 9, 2012


Painting is fun. Experimenting with different materials to paint with is even more fun. This time, we gave Shower Sponge Painting a go.

I confess that I have never once bought a shower sponge/loofa/shower puff thinggy (what ever you call them!), and yet we seem to have a lot of them! They often come in bath type gift packs so over the years, I've collected quite a few. Today I dug out a spare one, provided some paper and paint and let her at it!


activities for kids
We used a large piece of paper, a shower sponge and some recycled plastic lids with 4 different coloured paints chosen by Madeline


She was very curious to see how the paint was sticking to the shower sponge


The dark purple and the white paint made light purple. She enjoyed the "splotchy" effect created by the sponge.


activities for kids
Mixing and swirling the paint with the sponge was probably her favourite part of the activity


One single print contained blue, red and the colours together which made purple. The bubbles were something new though. We talked about what might have caused there to be bubbles.


She also thought to paint with the cord. I love how kids explore materials to their full potential


She discovered the large surface was perfect for swishing across the paper


And once she'd started, she insisted the paper was turned around so she could cover the entire surface


Handy Tips:

-Simplify this activity by just allowing your child to experiment and explore the sponge and the effects created with the paint on the paper. Let them choose their favourite colours.

- Extend this activity by putting a greater emphasis on colour mixing, patterns and textures. Try using a few different type sponges to see what different effects can be created

- Use new language and descriptive words like, "splotchy," "swirly." This will help with their language development.

-Ask questions to help connect their understanding and use vocabulary to give them words to describe what they're creating, eg. "In one swipe across you can see blue, red and purple. Why do you think that is?" "I wonder why there are little bubbles there?" "Can you make the bubbles appear again?" etc

- Remember that children need to create and explore, they don't need it to be a specific item at the end. Allow this and don't push them to think they must paint something "real." Certainly with an activity such as this, the process is more important then the outcome.

- The finished artwork could be used as gift wrap once dry


Debs :)


New Here? Subscribe via email so you don't miss a thing
Enter your email address:


Delivered by FeedBurner
If you haven't come over to play with us on facebook yet, we'd love to see you there. Hey, we're also on Twitter now too. 


Continue reading...


Free Play with Craft and Recycled materials

Feb 28, 2012


This activity is just about letting your child choose, experiment with and get creative with a range of recycled materials and craft supplies.
Children need to be able to experiment with materials without always having a desired end result or a specific procedure to follow.
Allowing them to choose the direction of their play lets them be creative, use their imagination and follow their own direction.
Sometimes you can be amazed by what they come up with. Ideas you never would have had…

Set out a range of craft supplies and recycled materials along with glue, tape etc so that they can be easily seen and accessed by your child


 Straight away, Madeline knew what she was making... I didn't


 Feeling all the different materials and textures while choosing appropriate materials and using fine motor skills for her construction


Her end results. Little cakes! Next step; open a cake shop and start imaginative play.


Some tips:

- Use whatever craft and recycled materials you have on hand or let your child choose a selection of items

- Assist your child as much or as little as needed to simplify or extend this activity

- When displaying materials, I like to group them in like materials/textures. So for example, I would put paper items together, soft pompoms and cotton balls together, string and wool together, paddle pop sticks and other wooden items together, shiny things together etc so that my child can easily find items and subconsciously learn about grouping and categorising

- This activity can be repeated time and time again with a different end result each time. Mix around and change some of the materials that you provide each time to inspire new ideas

- Talk with your child about the physical and mental processes they are going through. Ask them questions to help connect their understanding and use vocabulary to give them words to describe what they're creating, eg. "What are you creating?" "Why did you choose that?" "How are you going to attach this to that?" "I love how you've arranged them on the shiny, silver doily" etc

- Remember that sometimes children just create, they don't need it to be a specific item at the end. It could just be an abstract creation. Allow this and don't push them to think they must make something "real."

Debs :)
Continue reading...


Magic Milk and Brilliant Bubbles

Feb 22, 2012

This is a fabulous little experiment that will delight your children (and you, thanks to how easy it is).

It takes very few ingredients that can be found easily around the house.


 Pour enough milk to cover the bottom of a plate


 Add some food colouring


 And then some dishwashing liquid to the centre of the food colour


 It instantly splits the colour and gives you a tie-dye effect. "Woah!"


 After splitting it as far as we could, adding more and more dishwashing liquid she used a paddle-pop stick to swirl it all together


 Experiment over? It could be, but no, let's add a straw and blow bubbles. Talk about your observations


 Will the same experiment work with water instead of milk? You'll have to try to find out. If your child is ready, talk about why or why not.


 Bubble blowing is so much fun that it doesn't matter the result!


Wow! "When I blew really softly I made a GIGANTIC bubble"


Some tips:

- To simplify this activity, pour the milk and food colouring in yourself and have your child dip a cotton tip in detergent and then into the food colour

- To extend this activity, try using lots of different colours on the one plate and see what happens. Can you and your child create a colour wheel?

- You can use this activity to experiment with colour mixing

- Talk with your child about what they think is happening and why. Use different vocabulary and lots of descriptive words (adjectives) to extend their literacy skills.

- If blowing bubbles, see what the difference in the bubbles is if you have more or less detergent or if you blow harder or softer.


Debs :)
Continue reading...


Gooey Flour Fun!

Feb 20, 2012


If your child is anything like my child, then the idea of experimenting and playing with real ingredients is very appealing.

This activity has a couple of different elements to it and therefore practices many skills and provides many opportunities for learning.

Squishy gooey fun = learning!

From pouring, measuring and mixing to squeezing, drawing, creating and playing, this super sensory activity could keep them entertained (and learning) for ages!


 Using whatever quantity of plain flour you'd like to give them, combine enough water to make a gooey but not too runny, paste. This is a good time to allow your child to experiment.


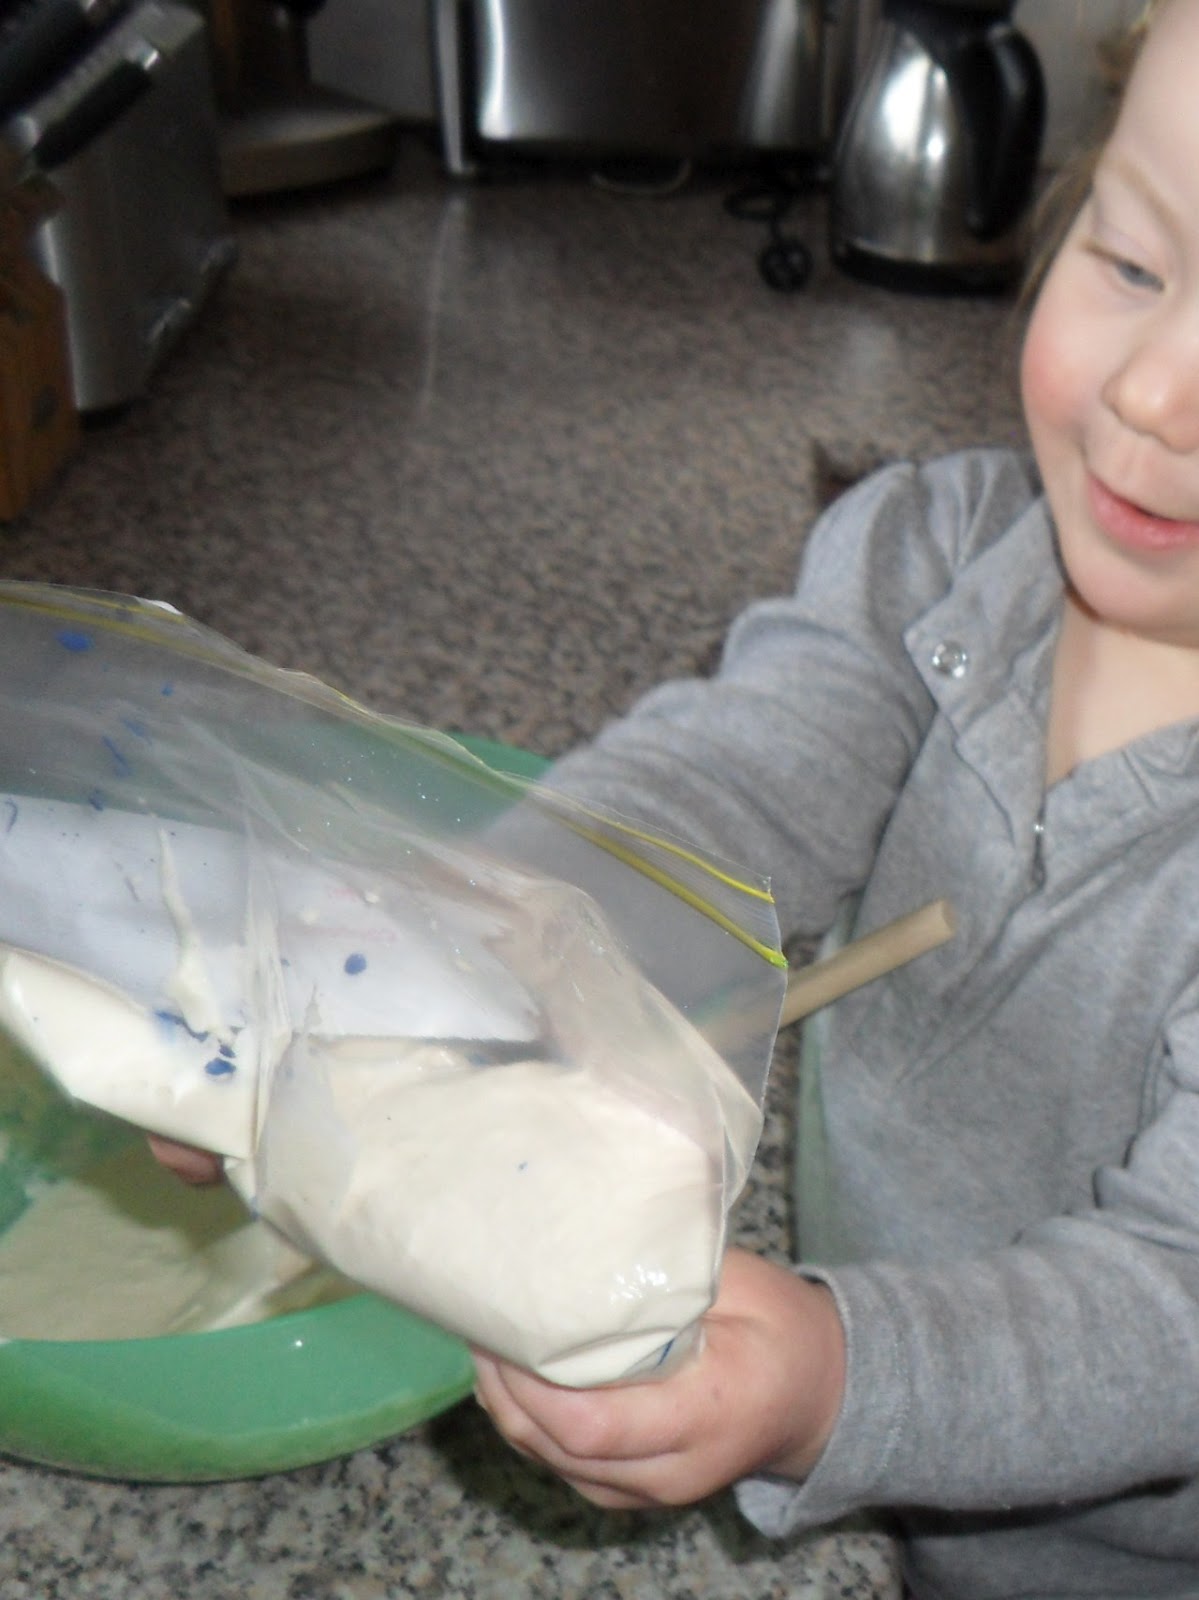
 Once the flour paste was ready we divided it into separate ziplock bags and added a different colour into each bag. (We used a small amount of paint but food colouring would be good too)


 Once you've added the colour, seal the bag and then let your child play with and manipulate the bag until the colour is mixed through.


 Our 2 bags are ready for use.


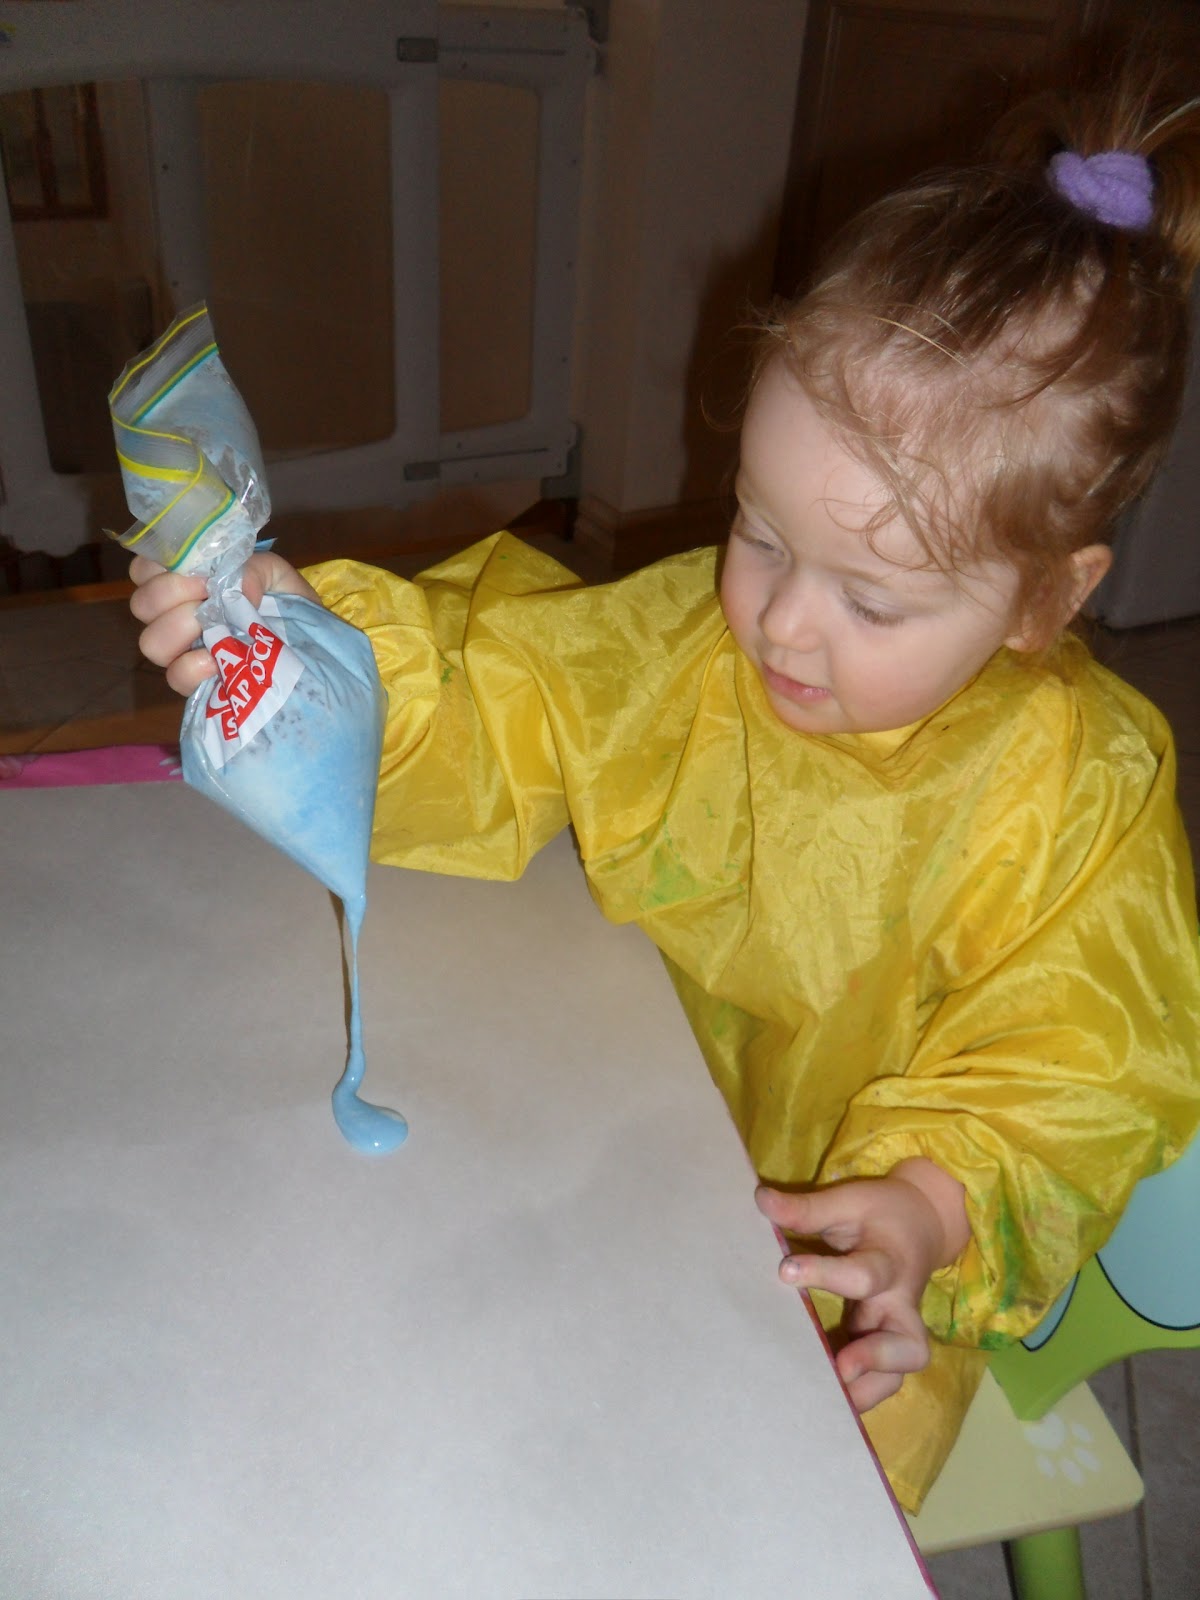
 Snip off a small corner of one of the bags and let your child pipe to their hearts content


 Practicing drawing lines


Listen to your child as they experiment and talk with them about what they are doing. Here my daughter was creating "little ponds and rivers that flowed into each other".  


 After a long play with the blue colour and after swishing it into a gigantic "pond" it was time to add another colour.


 We talked about the contrast the colours made and she observed how the pink smoothed out across the blue paste easier than straight on the paper.


 Time to swirl the colours together.


Talk about how it feels on their hands and between their fingers.


Look at how it stretches and falls onto the paper. Whoops, the paper got a hole in it, why?


Handy Tips:

- To get the right consistency for the flour paste will take a bit of experimenting. Encourage them to add the water slowly and keep mixing so as not to add too much.

- To add the colour we used a small amount of paint but you could use food colours or whatever you have on hand.

- To simplify this activity, cut out the amount of processes your child participates in. Perhaps just provide them with the bags readymade and let them squeeze it out OR instead of squeezing, just provide them with the flour paste to play with

- To extend this activity talk about colour mixing when adding the colour to the bags. The red paint turned the flour paste pink because of the white base etc. Try adding two colours to one bag to see the colours combine and learn which colour they create. Try making a couple of different consistencies and see what difference that makes.

- When talking with your child, listen to what they say and then repeat it back to them using different descriptive words to broaden their vocabulary.


Happy playing,
Debs :)


Look where else we are. Do you play with us here? :)
New Here? Subscribe to get all activities sent directly to you
Enter your email address:


Delivered by FeedBurner
Continue reading...