Today we decided to combine a bit of floating/sinking science with a creative and challenging way to get arty
Introducing, Floating Art
Ages- 2-6+
Materials- Items that will float (we used natural elements from nature),
Water, vessel to hold water (we used a large bowl and a deep lid)
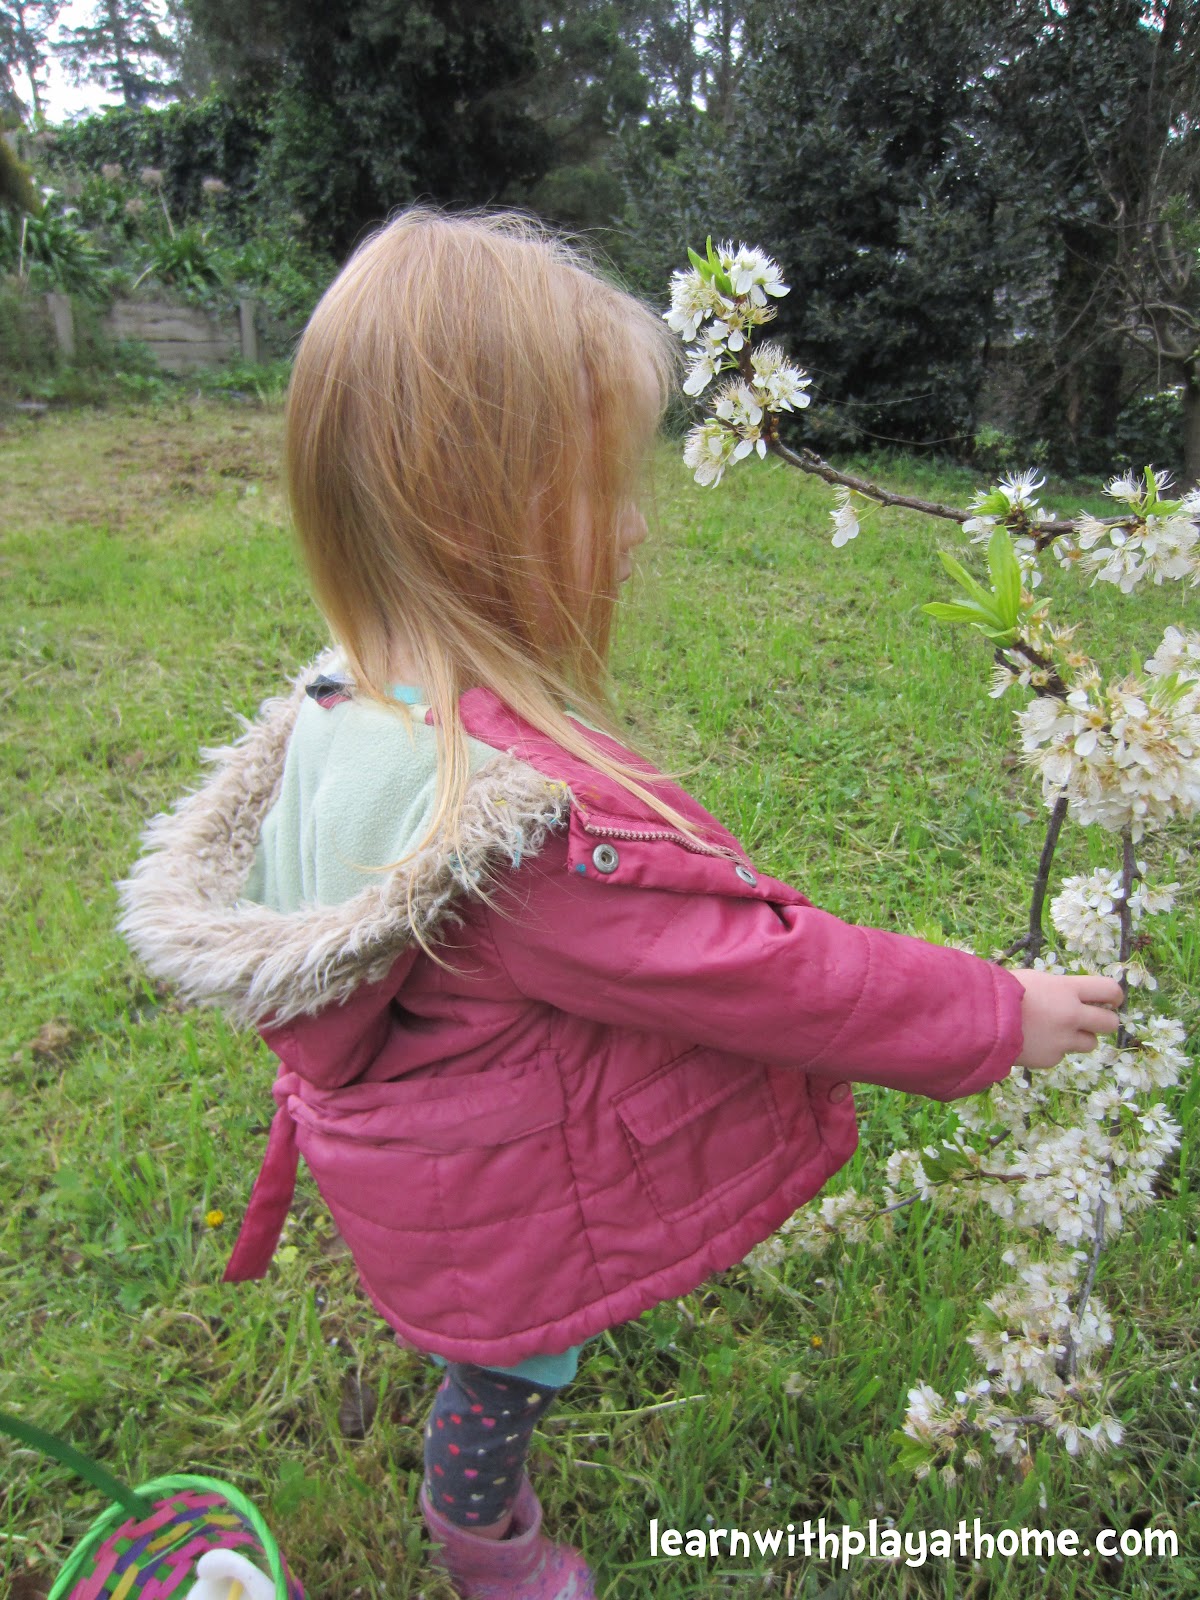
We started this activity with a walk outside to find and collect, items that would float
(It was up to Maddie 3.5 to determine what she thought would float but we encouraged her to test a few extra items that she was unsure about)
After collecting items, I set up a table with the materials, a large bowl of water for testing and a large plastic tray/lid to put our tested, floating objects on.
Testing the objects. Use this time to talk about why things float.
Maddie really didn't think the lemon was going to float. This is why we encouraged her to give it a go
Encourage your child to guess whether each item will float or sink before testing.
Older/more advanced children could keep a written record of this.
All the items were tested and those that floated were then placed on the tray/lid ready to make art with
For added fine motor skills we started adding the materials with tweezers
(Although Maddie ditched these after a few goes as it was too slow for her)
Some of Maddie's creations
How about some added early Literacy?
It's a great challenge to make things on water as they keep floating away!
Simple frame
I wanted to create as well. We enjoyed creating and talking together
My progressive Floating Art
More Water Science for kids
More Art with Natural Materials
Handy Tips:
- Simplify this activity by focusing on creating the floating art. Where appropriate, introduce the concept of things that sink a float but keep it basic
- Extend this activity by providing a greater focus on the science behind objects sinking and floating. Older children can begin to process things like density and surface area. As suggested, have children predict whether items will sink and float before testing. Have them write up the process in a Science journal or with a basic scientific proforma.
- Even younger, preliterate children can draw a picture of something floating and something that has sunk and they can always make and test predictions
-
Talk with your
child about what they are doing. This will help them understand the physical
and mental processes they are going through as well as giving them the
vocabulary to describe it.
- Use new
language and
descriptive words like, "floating" "ripples" "progressive" etc. This will help with their
language development and give them words to describe what they're creating and experiencing
-Ask
questions to help connect their understanding, eg. "Do you think that will float or sink?" "Why do you think the big lemon could float?" "How are you
going to get that to stay in that position?" etc.
-
Listen to your child talk as they go through their
experiences. This will help you determine where they are at with their
learning, knowledge and understanding and help you to develop the activity (or
future activities) to their level and interests.
Happy playing, creating and discovering,
Debs :)
New Here? Subscribe to get all activities sent directly to you
Are you on Facebook? We are and we'd love to see you there. You can also find us on Pinterest, Twitter and G+ too. :)