Easy Peasy Pirate Ship for Imaginative Play

Apr 29, 2012


Never underestimate the incredible learning that goes on through Imaginative Play. This is a chance for children to practice various skills, rehearse and use different and varied language and vocabulary as well as using their mind for problem solving, making assumptions and trying new things. (Plus heaps more!)
And, the best thing about imaginative play is that you need very little, (sometimes, if any) materials at all.

Today after reading some books on our flavour of the month, Pirates (!), we created the simplest Pirate Ship ever that you could also make at home.

make a pirate ship at home, boat for kids, kids activity, imaginative play
You need a toy bucket/chest/container (hey, anything you can empty and fit a child in, they don't care!); a broom mast; a flag (we used a library bag) and supplies (We had pirate dress ups, a cardboard tube telescope and a skipping rope anchor(not pictured..this idea came after I'd put the camera away))


Imaginative play for children does not need to be fancy... remember, they are using their imagination too!


Handy Tips:

- Simplify this activity by "making" a "Pirate Ship" yourself and then letting your child role play

- Extend this activity by making the parts for the ship with your child first. Eg, Make and design a flag, make a telescope, search for something appropriate for an anchor, make a pirate hat etc.

- The language development is an important part in imaginative play like this. Talking with your child and introducing new language that is relevant to the role play will increase the learning. Talk about some Pirate sayings or words and what they mean,eg. "Pillage," "Ahoy, me hearties" "Shiver me timbers" etc

- Make your activity more relevant by first reading and sharing books and stories about Pirates

Debs :)

Look where else we are. Are you following along? :)
New Here? Subscribe to get all activities sent directly to you
Enter your email address:


Delivered by FeedBurner

Continue reading...


Multi-Tool Painting

Apr 27, 2012

Another way we like to paint is with different painting tools on the same picture. It can create a lovely effect while also engaging your child cognitively as they switch between processes.


painting tools, painting with variety, creative activities for kids
For this activity I provided a large sheet of paper, a variety of different types of paint (Some on a sponge for printing) and some various painting tools (4 Different brush types of varying thicknesses and some textured stamps..psst: This set was purchased from Mothercare)


Decisions, decisions...


 Using focus and concentration while exploring the different marks each different brush or stamp makes


 As she picked up each tool (of course she wanted to use each and every one in her design) I can see how she is handling and holding each one and gently show her another way to hold the brush. Teaching her the different control you can get over each tool depending on how it's handled.


activity for kids, fine motor skill practice, creativity, different painting supplies
 The work in progress


Handy tips:

- Use new language and descriptive words like, "textures" and "implements." This will help with their language development.

-Ask questions to help connect their understanding and use vocabulary to give them words to describe what they're creating, eg. "Why did you choose to use that tool first?", "Which is the next tool you are going to choose?", "Did the pattern show up well using the glitter paint? Why/why not?"

- Listen to your child talk as they go through their experiences. This will help you determine where they are at with their learning, knowledge and understanding and help you to develop the activity (or future activities) to their level and interests.

- This activity can be repeated time and time again with a different end result each time. Mix around and change some of the materials that you provide each time to inspire new ideas

- Use this time to demonstrate particular skills to them that they might be attempting unsuccessfully. For example, how or where they are gripping the paintbrush. How they can avoid big drips of paint on their page etc.


Debs :)
Look where else we are. Are you following along? :)
New Here? Subscribe to get all activities sent directly to you
Enter your email address:


Delivered by FeedBurner

Continue reading...


Fine Motor: Pipe cleaners on a String

Apr 25, 2012


Ages: 2-6+
Materials: Pipecleaners, string/line


In order to further develop fine motor skills as well as working on problem solving and creativity, I rigged up a line between 2 chairs*, hung a couple of pipe cleaners from it and presented my daughter with a bunch of pipe cleaners of her own as an Invitation to Play.
*If using in a classroom setting or with children who might pull on the string and drag the chairs down, be sure to affix the line between 2 areas that can't easily move.

Would you believe this simple idea of hanging Pipe cleaners on a string could keep your little one occupied and learning for ages? Well, in this case, it did. I loved the open-endedness of this activity as well as the room for so much extension and other activities. See "Handy Tips" below the pictures for more ideas.


hanging pipecleaners, activity for kids, fine motor activity for kids
 Your child could create their own pipe cleaner sculpture using this method


 Practicing different loops and twists to make the pipe cleaners stay on the line while pulling the string down and closer to her body


 Having the rope/string at eye level present a different view and experience for the child. It dictates where their hands need to be


The hardest part for Madeline was when she decided to make a "swing" out of the pipe cleaners. Attaching a pipe cleaner across 2 hanging pipe cleaners presented her with a problem solving challenge and gave her hand eye coordination a good work out.


Handy Tips

- Simplify this activity by giving yonger children a much lower line or a small basket or collander to poke pipe cleaners in and wrap them around

- Extend this activity by hanging string at different heights or at different angles to present different challenges for children. Hang a few intersecting lines and add some extra materials like large threading beads or patty pans and watch their creativity 

- Use this activity to teach patterns, colours or numbers if you like. Just show/explain your focus to the child and provide the colours or amount of pipe cleaners required. 

For example:
- Instruct your child to hang/attach only Blue pipe cleaners etc,
- Have them hang them in a pattern (red, then blue, then green, then red, then blue, then green...what comes next? etc),
- Have them hang 5 pipe cleaners across and 3 pipe cleaners down etc. 

- Listen to your child talk as they go through their experiences. This will help you determine where they are at with their learning, knowledge and understanding and help you to develop the activity (or future activities) to their level and interests.

- Demonstrate some of the techniques that could be used to attach and hang pipe cleaners on one another if your child is struggling or asks for assistance


Happy playing,
Debs :)


Look where else we are. Are you following along? :)
New Here? Subscribe to get all activities sent directly to you
Enter your email address:


Delivered by FeedBurner

Continue reading...


Make a Magic Tree

Apr 23, 2012


Having a special tree in your yard adorned with various exciting and precious items will add that little touch of magic and fun that kids love so much.

It's so simple. Just collect any special little items you have at home and then get yourself outside to create some magic.

We are actually asking all our family members to find something they can spare for us to hang on the tree. By including other loved ones in the process, it gives our "Magic Tree" even more meaning and makes it even more special.


make a magic tree, magic tree, activity for kids, childrens garden, kids garden, decorated tree
 Here are some little bits and pieces that Madeline's Grandma found for her around her house. We will also be keeping our eyes out at op-shops etc and asking other friends and relatives for any trinkets they find that they'd like to give us.


 We chose the Weeping Cherry Tree in our front garden as our "Magic Tree"


Using materials like these stained glass ornaments means that the tree does not 'shout out' at you. You have to get up close and look carefully to spot all the little decorations. It makes it seem even more special to us.


 The glass whale took a little dip in the bird bath before finding it's home amongst the leaves


 Little fishy, hard to spot. He has a few friends hidden around on various branches. It's fun to try and spot them


Home is where the heart is


Some tips:

- Your "Magic Tree" can easily be added to bit by bit over time, as you find and collect more precious items

- Involve family members/loved ones in collecting precious items to give your Magic Tree that extra special meaning

- We are creating a Fairy Garden under the magic tree. You could extend this activity by doing something similar.

- Try to use items that will not be affected by the weather. Glass is great for this and if you're worried about anything breakable being smashed, just choose branches up high that can't be reached by little hands and make sure the item is hanging securely.


Debs :)


Look where else we are. Are you following along? :)
New Here? Subscribe to get all activities sent directly to you
Enter your email address:


Delivered by FeedBurner

Continue reading...


Early Literacy Ideas. 5 Easy and Fun ways to encourage your Preschooler

Apr 20, 2012


Here are 5 simple ideas (that you could do at home) to encourage a love of writing, drawing and creating for your Preschooler.


1. ALLOW EASY ACCESS

I have tried lots of different methods for having books and papers kept organised and tidy yet available for use whenever she gets the urge with not a great deal of success, but this idea (below) has been the most successful.
If your child has to stop and ask for something to write/draw on there's a chance that they just might not bother. PLUS- when it's something special for them, they are much more inclined to want to use it.


paper storage, writing storage, way to help kids write, kids writing supplies
 This is an old file folder that I've turned into a way for Maddie to easily access all her writing, drawing and creating papers/books. It has press studs (which even I find hard to close) so I stuck velcro tape along the underside of the flap so that she can easily open and close it herself.

 In each file space there is something different.
- Plain white paper      -Coloured paper
-Black paper                -Coloured circles
-Coloured squares             -Lined paper
-Newspaper            -Scrapbooking paper
-Lined notebook               -Sticker book
-Drawing book &       -Adventure writing book. etc
You could add whatever materials your child needs or regularly uses.


2. PERSONALISE & RECORD

Personalising books yourself is not hard. It makes it much more special and exciting for children, therefore, they are more likely to use it.
Show interest in your child and record details about them in a written format that they can see and "read" over. This gives you something to talk about, personalises it even further and makes a wonderful keepsake.

Make a drawing book for each year and give to them on their birthday. 
(Print out a picture/design/photo and stick to the front of a good quality drawing pad. Cover with contact paper to make it last.)


 You could do something like this inside the front cover of the drawing book.
At the start of each year, fill out a profile of your child and see how the answers differ from year to year. This was done on her 3rd birthday in Jan. We love reading over it as even now (3 months later), her answers have changed. We also trace her hands and date it.


3. WRITE TOGETHER

Your preschooler (most likely) can't write by themselves (and if they can it's probably fairly limited), so if you don't write with them they'll never get the chance or experience.

Try collaborative writing experiences like the one shown below and have other family members, relatives and friends help out too. If asked, they should be more than willing to sit down and let your child dictate their story to them.

Make a personalised writing book where you can record stories and adventures as made up by your child.
This is just a blank notepad that we drew a cover for together. It doesn't look professional but it doesn't need to.

All the stories in here are recorded exactly as dictated by Madeline.
Sometimes she uses stickers as inspiration and for pictures and other times she illustrates her stories herself.
Once again, it's not fancy but that's not the aim. We LOVE reading over what is written and continuing or adding more adventures whenever she gets the urge.


4. MAKE IT SPECIAL AND APPEALING

When I was teaching in a classroom, I loved the uniformity and organisation of matching pencil, texta, crayon pots/tubs etc. It helped reduce fights and was easy and practical. At home however, this isn't needed and I've found that the more creative I am with housing her writing and drawing implements, the more keen she is to use them.


Try storing fancy or special textas, pens etc in different tins/containers.
The more special the implement, the more special the container. :)
This was an old biscuit tin (she added a sticker). Things like chocolate boxes, recycled containers, old lunchboxes etc are all great to use. If they are plain, let your child decorate them.

Standard textas in a recycled plastic tub with a ribbon tied around it

For birthdays/Christmas' etc, you could ask relatives for different and exciting writing tools.
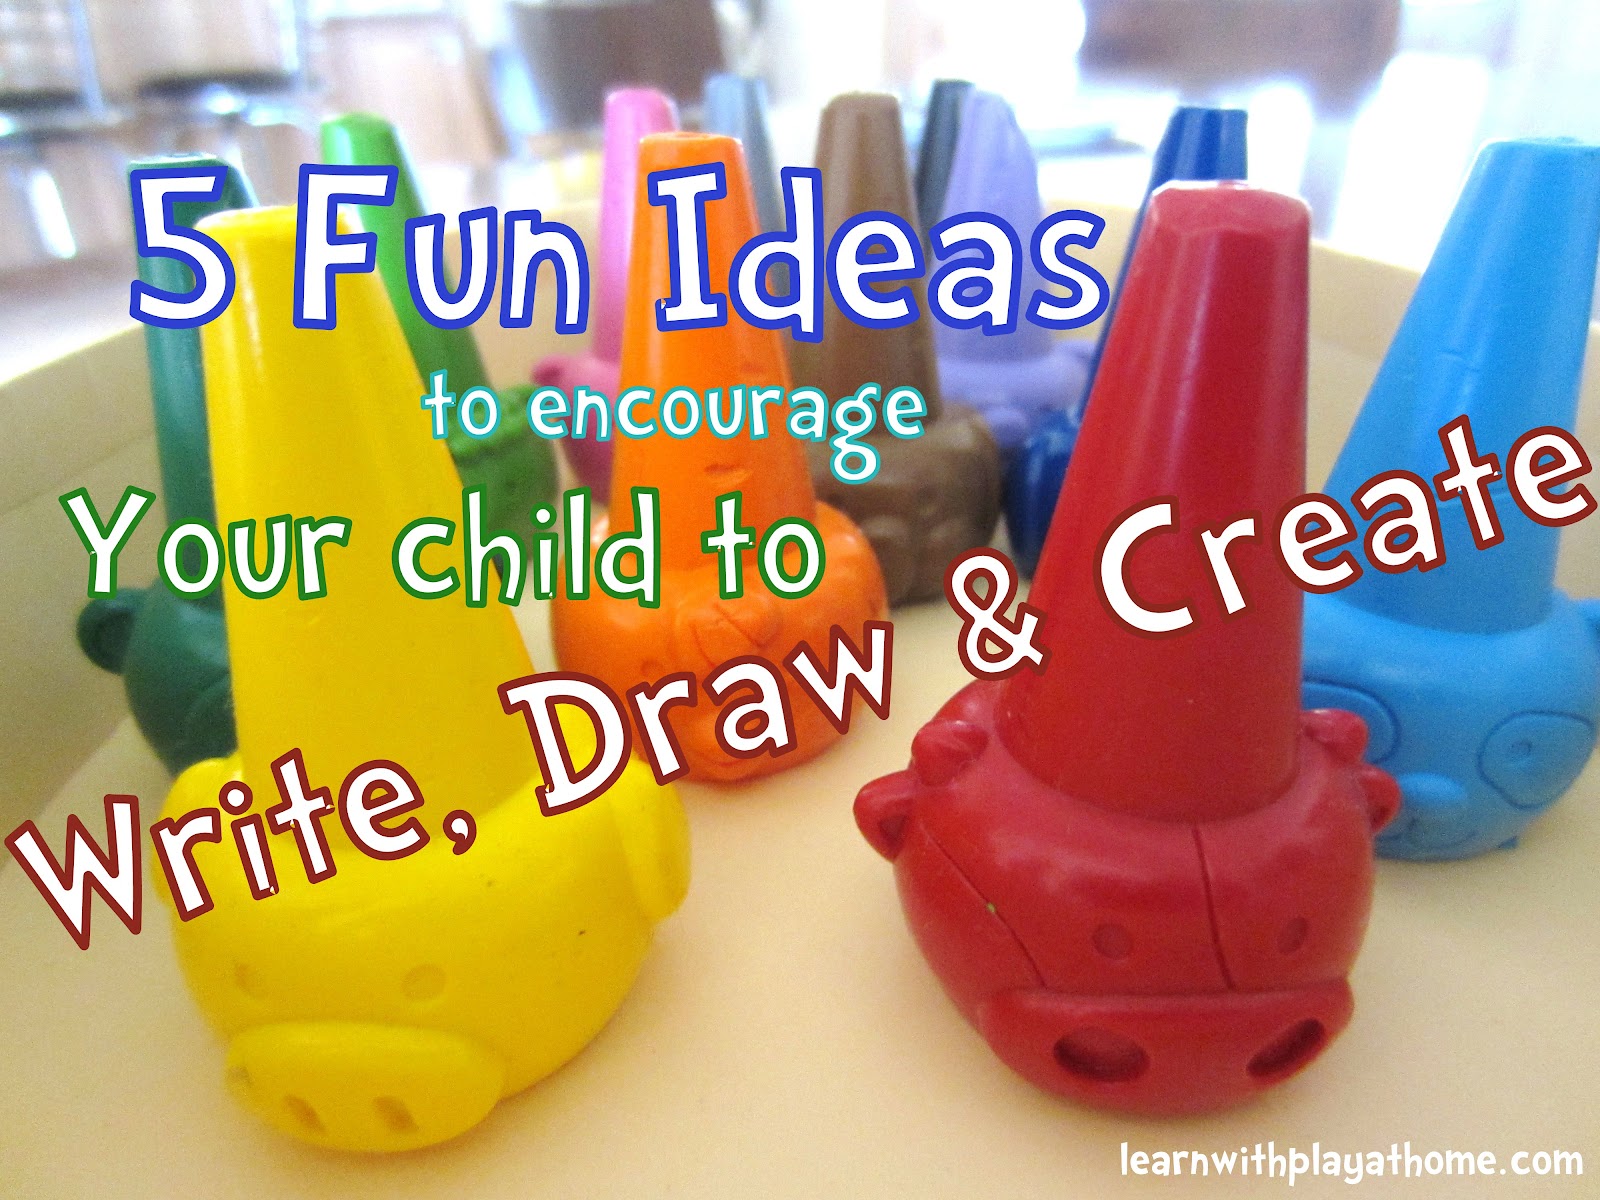
These animal, finger puppet crayons came from her Grandma and are used not only for writing and drawing, but also to ride in toy trains, live in Duplo built houses, stack together, have conversations and SO much more.


5. CREATE INVITATIONS TO WRITE/DRAW

While your child is sleeping or otherwise occupied, create an invitation for them to get creative by setting up an area with everything they need, all laid out. Once again, the more appealing you make it look, the more likely they will get excited and be inspired to create.


Here I set up an invitation for some creative story writing.
(In the box to the left are a whole lot of different stickers and cut out pictures from magazines.. it used to be a chocolate box)


Most important of all... HAVE FUN!


What tips and tricks have worked for YOU to encourage your preschooler to write? Please share them with us.


Happy playing,
Debs :)


Look where else we are. Are you following along? :)
New Here? Subscribe to get all activities sent directly to you
Enter your email address:


Delivered by FeedBurner

Continue reading...