Showing posts with label fine motor skills. Show all posts

Finger Exercises for Kids learning Handwriting and How to Hold a Pen Correctly.

Sep 23, 2015


Handwriting is something that takes children a while to master. 

It is a skill to coordinate a pen/pencil in a controlled manner to produce an exact result and one that develops over time and experience. 

To develop good handwriting, you require good fine-motor skills, hand/finger muscle strength and a good pen-grip/hold.

Being a trained teacher, since my children started holding and drawing with writing tools (pens, pencils, markers, crayons, paintbrushes), I have been encouraging them to adjust their grip to hold their writing implements with the three correct fingers that allow for good handwriting down the track.

Many children don't practice holding a pen using the correct 3 fingers until they get to school and then it's often a matter of trying to correct the natural hold that they have developed. 

Whilst children (and adults) are able to write using other various holds, the time-tested method below, once mastered, is the most comfortable way to write, allows for ease of movement and is the least likely to cause muscle strain or discomfort, especially when writing for lengthy periods of time.
Continue reading...


Water Transfer Colour Guess Game. Fine motor skills activity for kids.

Mar 28, 2015


Back when Maddie (aged 6) was just 3 years old, she was a great fan of transferring water from one vessel to another. Now that Noah is 3, I've been going back through my own blog to see some of the activities she was getting up to at that age. I found our Colour Discovery Water Transfer activity and knew that it'd be right up his alley.

This time, to mix it up a little bit, we had a go of this in 3 different ways. From the basic skill of moving water from one container to another, to a couple of different versions of guessing colours and making them appear.

Ages: 2+
(See Handy Tips at the bottom for ideas to simplify or extend to suit your child's needs)
Continue reading...


Acorn Buddies. Creative, Miniature Painting for Kids

May 5, 2013


We've been exploring nature in various forms and today we decided to turn our acorns into little Acorn Buddies to use in pretend play and in a fun maths game.

This creative activity had us painting in miniature and working on a different scale than we're used to. 
This required concentration, coordination and practiced our fine-motor skills.


Ages: 3+
(See the Handy Tips at the bottom to simplify or extend for your child. M is 4y/o here)
Continue reading...


Sticky Table Garden. Contact Paper Activity for Kids

Apr 18, 2013


Here is an activity that is quick to set up and practices fine motor skills and creativity.

Having both a toddler (N is currently 17 months) and a preschooler (M is 4) means that there are plenty of times I need to find activities that are going to be appropriate for the two of them to work on together.

Enter the virtually mess-free activity, the contact paper sticky table.
(Contact Paper is also known as Sticky Back Plastic in some countries)


Ages: 6 months+
(See the Handy Tips at the bottom of the post for more ideas to suit your child's development)
Continue reading...


Pipe Cleaner Numbers. Playful Maths

Mar 23, 2013


Welcome back to the "Playful Maths" weekly series brought to you by


Together, let's make MATHS FUN!

............................................................................................................


Last week I shared Bottle Top Number Game.

This week we bring you another 2 Playful Maths Activities using Pipe Cleaners. 


Today's activity from us focuses on "Number Recognition and Number Formation" 


This activity also includes  counting,  orderingnumber writing and fine motor skills. 


Ages: 4+
(M has just turned 4. See the bottom for handy tips to Extend or Simplify to meet your child's needs)


Materials: Pipe Cleaners, Scissors
(optional fishing line and coat hangers to make a number mobile)

Continue reading...


Baby Play: Tissue Box Play

Jan 6, 2013


Ageapprox. 6 months to 2 years (see bottom for tips)

Materials: Cardboard Tissue Box and Milk bottle lids
(N is currently 13 months. See bottom for tips to simplify or extend to meet your child's needs)

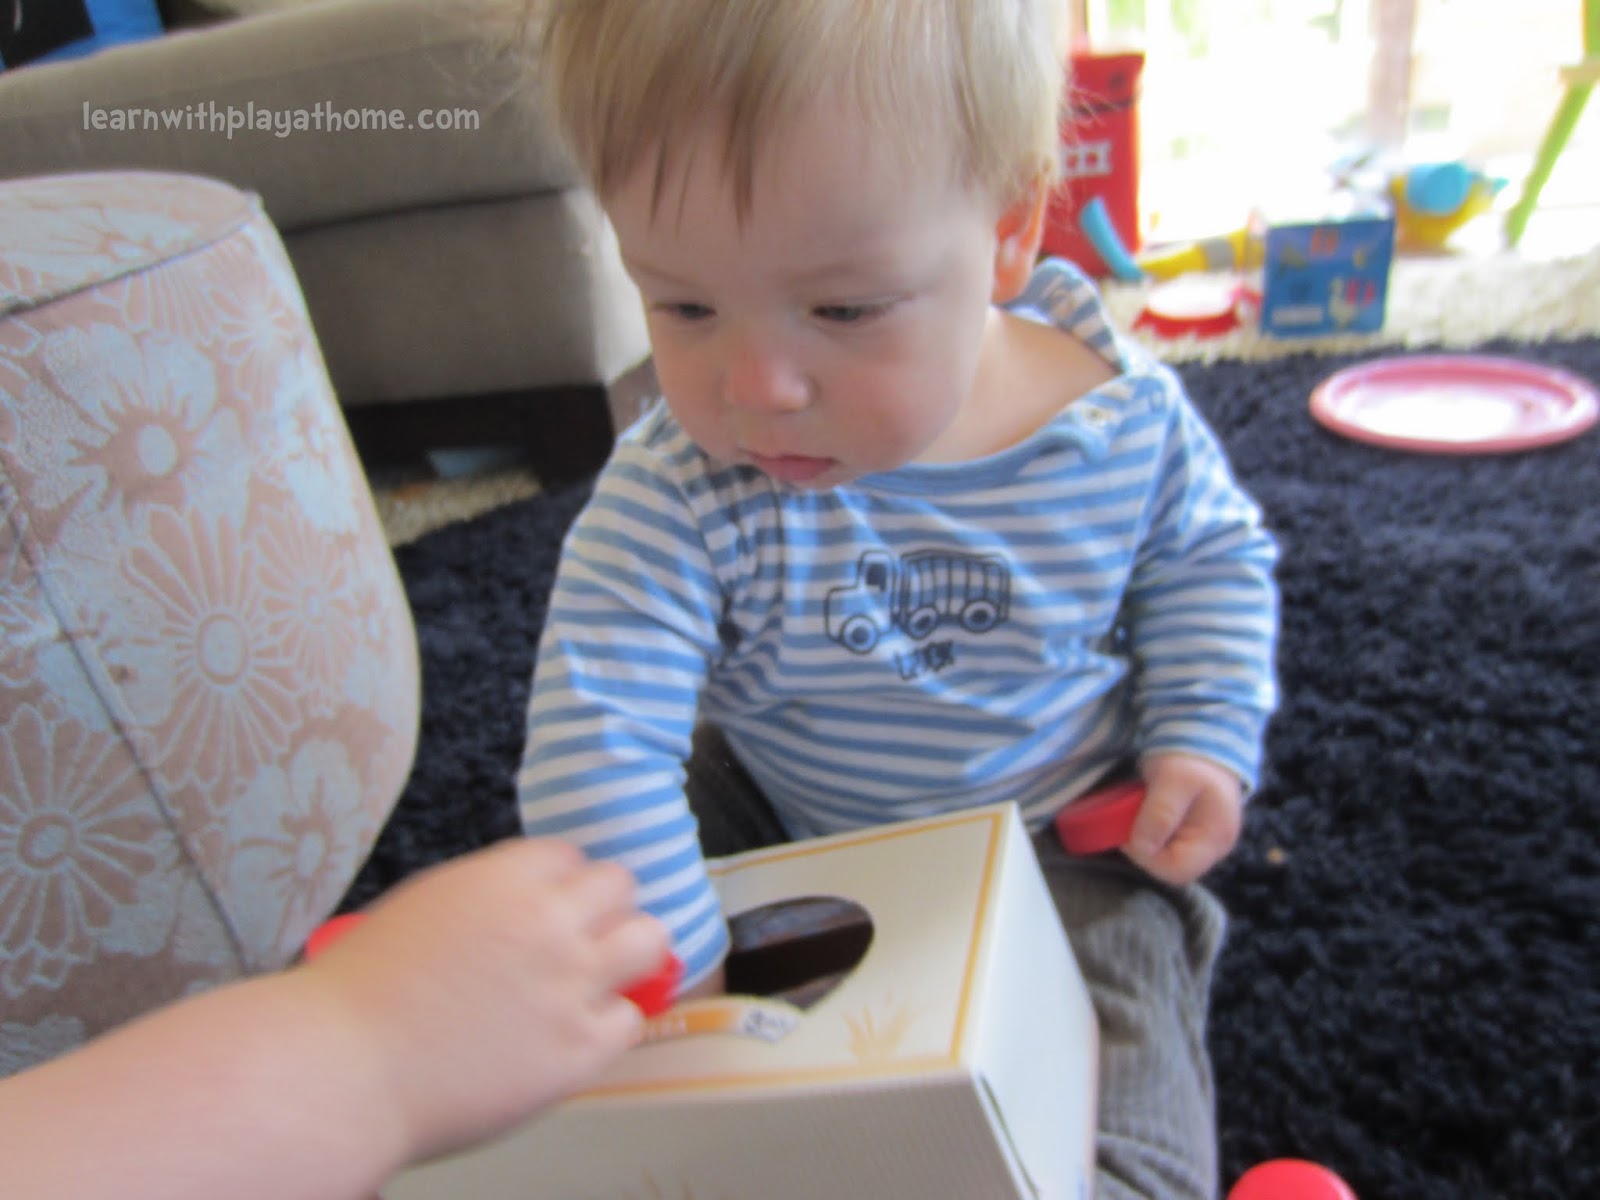
Set up as an "Invitation to Play" Different coloured Milk Bottle Lids on a plastic tray and a Tissue Box


Woah! What to do first? Stimulated by the different colours and bits and pieces


Tipping the tray. Learning about gravity.


Using fine motor skills and hand-eye coordination to put the milk bottle lids in the tissue box.


Where have the milk bottle lids gone? You can hear them when you shake the box. 
Reaching for the lids and learning about object permanence.


Baby is Learning:

- Fine motor skills
- Pincer grasp (picking up small objects with thumb and pointer finger)
- Hand and eye coordination
- Cause and effect (ie. tipping the tray will make the bottle lids fall off. Shaking the tissue box with lids inside it makes a rattle sound etc.)
- Shapes. The milk bottle lids are round. The tissue box is rectangular with angles and corners.
- Colours. The milk bottle lids are all the same shape/size but different colours.
- Emotions. Excitement, anticipation and enjoyment.
- About Gravity. Physical items fall down and always tip to the lowest point
- Language from the interactions you have with baby
- What to do with the materials. Put the milk bottle lids in the tissue box. Get the out again. etc
- Object Permanence. Just because you can't see it any more doesn't mean it's not there.


Handy Tips:

Simplify this activity by ensuring that the opening of the tissue box is large and easy for baby to put things inside. Allow baby to explore the materials without pushing the need to post them inside the tissue box. Pop some in the box for baby to shake and rattle and see if they can get them out.

Extend this activity for older babies by sorting the milk bottle lids into colours. Ask baby to put the "blue" milk bottle lids in the tissue box etc.

Mix it up by providing some items that are too big to fit inside the tissue box. Let baby experiment and figure this out.

Repeat this activity as often as you like because babies (& children) need repetition to consolidate their learning and understanding. 

Talk to your baby about what they are doing. This will help them begin to understand the physical and mental processes they are going through as well as helping develop their vocabulary. "You have a red lid", "Where have the lids gone? Shake, shake, shake. What is that sound, baby?" 

Play with baby. Once they have explored on their own and been given an opportunity to discover on their own, you could show them how to put the lids into the tissue box or how you get them out.

Supervise. Babies need constant supervision.


Click here for MORE BABY PLAY IDEAS


Happy playing,
Debs :)


New Here? Subscribe to get all activities sent directly to you
Enter your email address:


Delivered by FeedBurner


Continue reading...


Super Simple Christmas Cards

Nov 29, 2012

chistmas cards toddler


This Christmas have your child (yes, even toddler) make some of these Super Simple Christmas Cards


Ages: 2+
(M was 2 here. See the Handy Tips at the bottom for ideas to Simplify or Extend to meet your childs needs)


Materials: Cardboard (for cards), green paper, sequins, glue


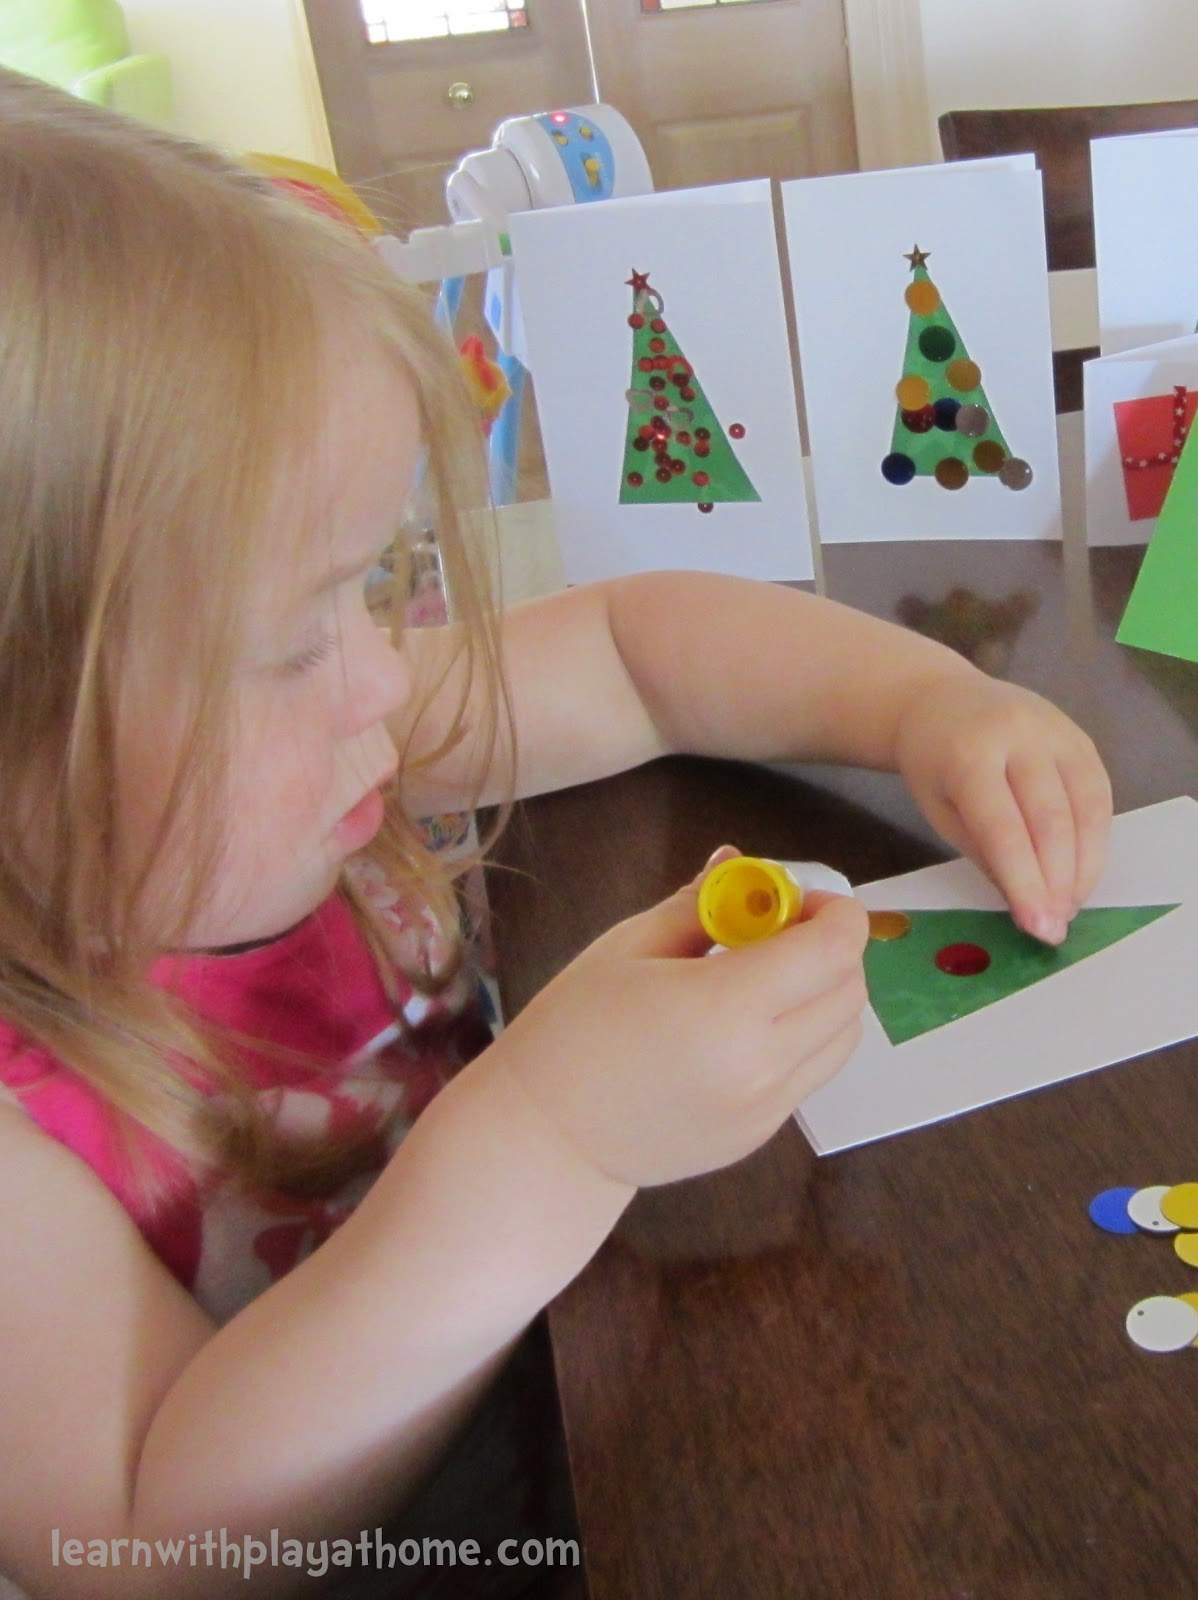
Cut triangles (or have your child do it, M cut these ones) of green paper and then let them stick them onto the cardboard cards and then embellish with different sized, shaped and coloured sequins.


Picking up those slippery little sequins is great practice for their Fine Motor Skills and choosing and placing their sequins is great to develop their creativity and to talk about Colours, Shapes and Sizes.


They were incredibly simple yet came up looking great. I loved the different colours and designs she chose.


To learn more about the benefits of working on the inside of the card together, see here


Handy Tips:

- Simplify this activity by pre folding/cutting the cardboard cards and green triangles. Provide together with the sequins and allow your child to paste and place them. Encourage them to think about who each card might be for first so that they can consider and choose colours and designs with the person in mind. 

- Extend this activity by having your child work on the folding and cutting of the cards and triangle trees themselves. Add extra craft materials that they can get creative with.

- Use this opportunity to talk with your child about Shapes, Patterns, Colours, Sizes and other topics that may come up in the course of the experience

- Add numeracy skills by challenging your child to use a different amount of sequins on each design. This will encourage counting and concepts of more and less.

- Write the inside of the cards together. Even if your child is pre-writing, involve them in the process and discuss the types of things included in Christmas cards together.

- We share more ideas and tips about making greeting cards with kids here


Happy creating,
Debs :)


New Here? Subscribe to get all activities sent directly to you
Enter your email address:


Delivered by FeedBurner

Are you on Facebook? We are and we'd love to see you there. You can also find us on PinterestTwitter  and G+ too. :) 

Continue reading...


DIY Kids Room Decor. Spotty Lanterns

Nov 12, 2012

kids paper lanterns, paper lanterns

Today we just did a super simple little craft. 

It kept us amused, practiced fine-motor skills, worked on colour recognition, made us aware of spacing and in the end, we had some cool and unique Kids Room Decor lanterns to hang in my daughters room


Ages: 2-6+
(M was 3y/o. See the Handy Tips at the bottom for ideas to Simplify or Extend for your child)


Materials: Paper lanterns (You can source these  inexpensively from your local discount variety shops or ebay! These cost me less than $2 each) & 
Multi coloured and sized dot stickers (if you can't find multi coloured ones, buy white dot stickers and have your child paint them different colours)


Then it's as simple as peel and stick


Talk about the different colours you're using and how they're spacing them out. 
Use different sized dots for varying effects.


When they are done, tie on some fishing line and hang at varying heights from the ceiling
(We used Command Clear Hooks to attach to the ceiling. No drilling, yay!)


Look what else we've done with Paper Lanterns :)
(click the picture to go to the post)


Handy Tips:

- Simplify this activity by assisting your child to peel the stickers off the backing. If it's too hard for your child, peel the stickers off first and half stick them on the edge of the table for them to peel and use easier

- Extend this activity by challenging your child to make different shapes and patterns out of the dot stickers. Include some literacy by having them form their name or first letter or some numeracy by challenging them to figure out how many dots they've covered their lantern with

- Mix it up by using different types or stickers or have a go at painting one! Use colours your child likes or that will complement spaces.

- Making something that looks visually pleasing as the end result helps your child to feel proud about what they have created. Giving it a special purpose (like for their room or as a gift) can also help instil some pride in their work.

- Talk with your child as they do this activity. Take the time to discuss what's going on in their life. Some of the best discussions with your child can come when you are simply working side by side. It's a beautiful thing :)


Have you used Paper Lanterns? How?


Happy creating,
Debs :)


New Here? Subscribe to get all activities sent directly to you
Enter your email address:


Delivered by FeedBurner

Are you on Facebook? We are and we'd love to see you there. You can also find us on PinterestTwitter  and G+ too. :) 
Continue reading...


Sticky Easel: Ribbons and String

Oct 8, 2012


We just love playing and creating on a Sticky Easel. You can see how to make one here, they are so simple and yet so much fun! 

Today I set up a quick Invitation to Play with the sticky easel and ribbons and string.


Ages: 2-6+

(M is 3 years old here. See Tips at the bottom to simplify or extend to meet the needs of your child)

 Materials: Contact paper/Sticky-back plastic (the stuff you cover books with), sticky tape, string, ribbon, wool etc.


I provided the string/ribbon in different lengths. Some short, some long. 
Maddie got herself into a bit of a tangle here :)


We talked a lot about different lengths, patterns, colours, designs, weaving, manipulating and more while we played


Adding in different widths. Easy to talk about the contrast with children. 
"Wow, that is a thick ribbon. It is so much wider than the string" etc


Use ribbons and string to make letters, words, numbers, designs, pictures and so on.


Handy Tips:

Simplify this activity by providing materials for sticking that are appropriate for your child. If strings provide a hazard for your child, be sure to supervise and/or switch for shorter lengths. Also, if sitting/standing at an easel won't work, try sticking the contact onto a baking tray and giving them that to play with on the floor.

Extend this activity by having your child test the strength of the stickiness by trying to stick other objects from around the room on there. What weight or size becomes too much? Use the sticky easel for early literacy practice such as making letters, writing words etc.

-Ask questions to help connect their understanding and use vocabulary to give them words to describe what they're creating, eg. "That looks great, tell me about it" "What are you creating?" "Why did you choose that?" "How are you going to fill this space?" "I love how you've lined them all up in a row" etc.

Listen to your child talk as they go through their experiences. This will help you determine where they are at with their learning, knowledge and understanding and help you to develop the activity (or future activities) to their level and interests.


Happy playing,
Debs :)


New Here? Subscribe to get all activities sent directly to you
Enter your email address:


Delivered by FeedBurner

Are you on Facebook? We are and we'd love to see you thereHey, we're also on Twitter now too. :) 


Continue reading...


Tie-riffic Fun with Twist Ties

Oct 1, 2012

kids activity

Twist ties. One of those items that we end up accidently collecting but never actually use for some reason. The white ones come free in the packs of plastic freezer bags here in Australia. After getting some coloured ones from a craft supplies shop, I decided it was time to actually put them to use!

The cool thing about twist ties is that there is a very thin strip of wire through the centre of them so they are great for manipulating and therefore perfect for practicing and developing fine motor skills.

Rather than deciding how they should be used, I presented them to my daughter in an Invitation to Play so that she could explore them and investigate their potential herself.

Ages: 2-6+ 
(M is currently 3.5 years old. See the bottom of the post for Handy Tips on how to simplify or extend to meet your child's individual needs)


Materials: I provided Twist ties (the coloured ones were separate and the white ones I left as they came, joined together), black paper, PVA glue and a paintbrush.


Developing fine motor skills and hand-eye coordination to peel and separate the twist-ties

She was very interested in glueing them to the paper. The black paper made a great contrast and she enjoyed the white glue on the paper as well!
An important part of this process was the language that she was using as we talked about what she was doing.


There was a lot of attempting to twist and tie them. This was fiddly for little fingers but excellent practice.
She was very pleased with herself when she managed to get ones to twist and stay together.


I had a turn too. Playing with your child is a special time and one that is gone all too soon. Take every opportunity that you can.


Use twist ties to make letters or numbers, to spell words and more....


Handy Tips:

- Simplify this activity by simply allowing your child to investigate and explore the twist ties themselves and let them decide what they could do with them. For younger children who's fine motor skills are still developing do not focus too much on twisting them together as it can be quite tricky. Encourage bending them into different shapes

- Extend this activity by challenging your child to build various items out of twist ties. I attempted a cube and found it was a bit more challenging than I'd imagined. They are fiddly little things! :) Encourage your child to make letters or numbers from twist ties. How many letters can they make using only 1 twist-tie? How many need 2? etc

- Instead of always giving your child directions as to how they are expected to play, I like to mix it up and create "invitations" to play where children can explore and figure out for themselves what they can do. This type of open-ended activity allows the child to take the activity to a level they are comfortable with while giving them the freedom to explore different angles.


- Process over Outcome. Remember that children need to create and explore, they don't need it to be a specific item at the end. Allow this and don't push them to think they must make something "real." Certainly with an activity such as this, the process is more important then the outcome.


-Ask questions to help connect their understanding and use vocabulary to give them words to describe what they're experiencing, eg. "What are you doing with the twist-ties?" "Why did you choose to paste them like that?" "How are you going to attach this to that?" "I love how you've managed to twist those ends together to make a..." etc

- Focus on improving particular skills with your child and help them to practice, ie. Wiping excess glue before pasting to avoid drips.

- Keep a damp cloth beside them so that they are able to wipe down their hands easily and quickly


Happy playing,
Debs :)


New Here? Subscribe to get all activities sent directly to you
Enter your email address:


Delivered by FeedBurner

Are you on Facebook? We are and we'd love to see you there. You can also find us on PinterestTwitter  and G+ too. :) 


Continue reading...


Early Maths with The 3 Bears. Fun Counting and Grouping Activity

Sep 17, 2012

math activity, kids maths, fun maths, early numeracy

This activity will help children to model basic numbers and use counting and grouping strategies to demonstrate and verbalise relationships between basic numbers. In this case, the numbers 1-3.

Using the well loved and well known tale of Goldilocks and The 3 Bears will help engage your child and also give them a greater understanding, meaning and depth.


Ages: 2-6+


Materials: Book/s of Goldilocks and The 3 Bears, 3 teddy bears, Materials for props such as bowls, chairs and beds (eg. Cardboard boxes, plastic containers, stickytape, playdough, kitchen items, material etc)


Incorporate Literacy in this activity and give it greater depth by first reading the story of Goldilocks and The 3 Bears. For this activity we read 2 different versions. 
(One by Emma Chichester Clark that I really like because of it's gorgeous illustrations and the way it's written to see it more from the Bears point of view and pointing out the flaws in the actions of Goldilocks. The other was a traditional retelling in a nursery collection entitled "Once Upon A Time" and Illustrated by Susie Lacome.)


How many Bears are there? 
Encourage one to one correspondence by pointing to each Bear as they count.


How many bowls will you need?
*Note: I provided more than 3 bowls so that counting and grouping was required.


Make sure that each Bear has 1 bowl each and give these to the bears.

She then matched 1 spoon for each bowl from a pile of spoons. 

This type of one to one correspondence and grouping is important for children to master and is often a starting point when teaching maths to young children.


Encourage role play and letting them get involved in the game. 
Every focus of the activity does not have to be counting. Here she loved spending time working her hand-eye coordination to fill each of the bowls with "pom pom porridge"


To enhance the learning and add number recognition skills, I put a pile of our number cards* out on the table and had her find the card that matched the amount of bears.
*To see how to make these number cards, see the bottom of the post


The number 3, represented in a variety of ways. Ways that make sense to children.


 Bed time for the 3 Bears. I provided a range of different sized boxes/plastic containers etc and various sized pieces of materials.


Challenge your child to find and correspond the right sized container to make a bed for each bear.
Use this time to talk about Small, Medium and Large.


Introduce ordering by having your child place the bears in their beds in order from the smallest to the largest.


Handy Tips:

Simplify this activity by encouraging the play and by assisting your child in counting out the props and corresponding them to each bear. Young children will have a ball simply going on the mission to find 3 bears. A daddy, a mummy and a baby bear. Start with this and play along together. You can also provide only 3 bowls/spoons etc and concentrate on the grouping and one to one correspondence of each item. ie. each bear gets one bowl and one spoon.

Extend this activity by using recycled materials to make extra props like chairs etc and be sure to talk about and encourage all the different math learning areas from counting, grouping, ordering, sizing etc

- Further enhance this activity and add extra learning areas by having children act out the entire story. This type of role-play encourages memory, literacy skills, drama etc.

Talk with your child about what they are doing. This will help them understand the physical and mental processes they are going through as well as giving them the vocabulary to describe it.

- Use new language and descriptive words like, "bigger/larger," "smaller," "medium" etc This will help with their language development.

-Ask questions to help connect their understanding and use vocabulary to give them words to describe what they're doing, eg. "Daddy Bear is so big! He needs a big bed. Can you find a big bed for Daddy Bear?" "Are there any beds that are larger than that one?" "How many blankets are you going to need?"

Listen to your child talk as they go through their experiences. This will help you determine where they are at with their learning, knowledge and understanding and help you to develop the activity (or future activities) to their level and interests.


DIY Number Cards
DIY Number Cards, Sticker Number Cards


Materials: Cardboard, Dot stickers, Black Marker, Laminator and laminating pouches (If you want to make them to last.. these pictured are a couple of years old, a bit bent but still going great)

Directions: Write the numbers on squares of cardboard. Stick the corresponding amount of dot stickers on each card. For added fun, use a marker to add some simple little details. For added durability, laminate the squares.

Hint: Make 2 sets of numbers so that you can play matching/memory games with the cards.


Looking for more fun Real Life Math activities for kids?


Happy playing and learning,
Debs :)


New Here? Subscribe to get all activities sent directly to you
Enter your email address:


Delivered by FeedBurner

Are you on Facebook? We are and we'd love to see you thereHey, we're also on Twitter now too. :) 


Continue reading...