

The more arts and crafts you like to do with your kids, the more supplies you will end up with. If you're anything like me you may start with a little box, which then overflows into a larger one, or a couple of boxes and then before you know it, it's craft supply city and you can't remember half of the supplies you have because they are too hard to access.
Time to get organised. Time for a craft cupboard makeover!

This is how I started. I *thought* I was pretty organised... I'd managed to claim the inside of one section of a wardrobe in our guest room/study but things were just piling up and becoming impossible to access.
Simple solution? You bet!
A quick trip to the local hardware shop.
Some cheap shelves.
A handy hubby with a spirit level and a drill.
And hey presto: We're organised!

Installing shelves inside an unused wardrobe hanging space means that you can store so much more and also be able to access everything easily.
At the very top, I put in a half shelf as I knew that I would never be able to reach anything at the back of a full shelf without getting something to stand on. And, if I can't reach it easily, I know I'll forget it's there and not use it.

I don't like wasting things so I took apart the little 3 drawer sets that I'd previously purchased from K-Mart and popped the drawers back into my new shelves as shown here. This worked well as it left some spare room for extra bits and bobs.
Labelling individual tubs and categorising your supplies will make things much easier to store and find
The tubs shown in the picture above are labelled:
"Paper and Cardboard" (all our coloured paper, special papers and so on that will fit!)
"Stickers," (I think my previous students would hyperventilate if they saw how many stickers I have in here!)
"Drawing and Desktop" (this is office type supplies, new textas, staples, erasers, stickytape etc),
"Fun Crafts" (glitter, patty pans, foam sticks... you get the idea),
"Recycled Bits" (I have another couple of large recycled goods tubs at the bottom so this one is just for small bits and pieces that you'd otherwise throw out.. great for activities, crafts, games etc) and "Stamps and Stencils" (little ink pads, fun stamps, paper punchers etc)

At the top I have individually labelled tubs and other materials that we use very frequently.
As you can see, the top shelf that has the paints is a half shelf as explained earlier.
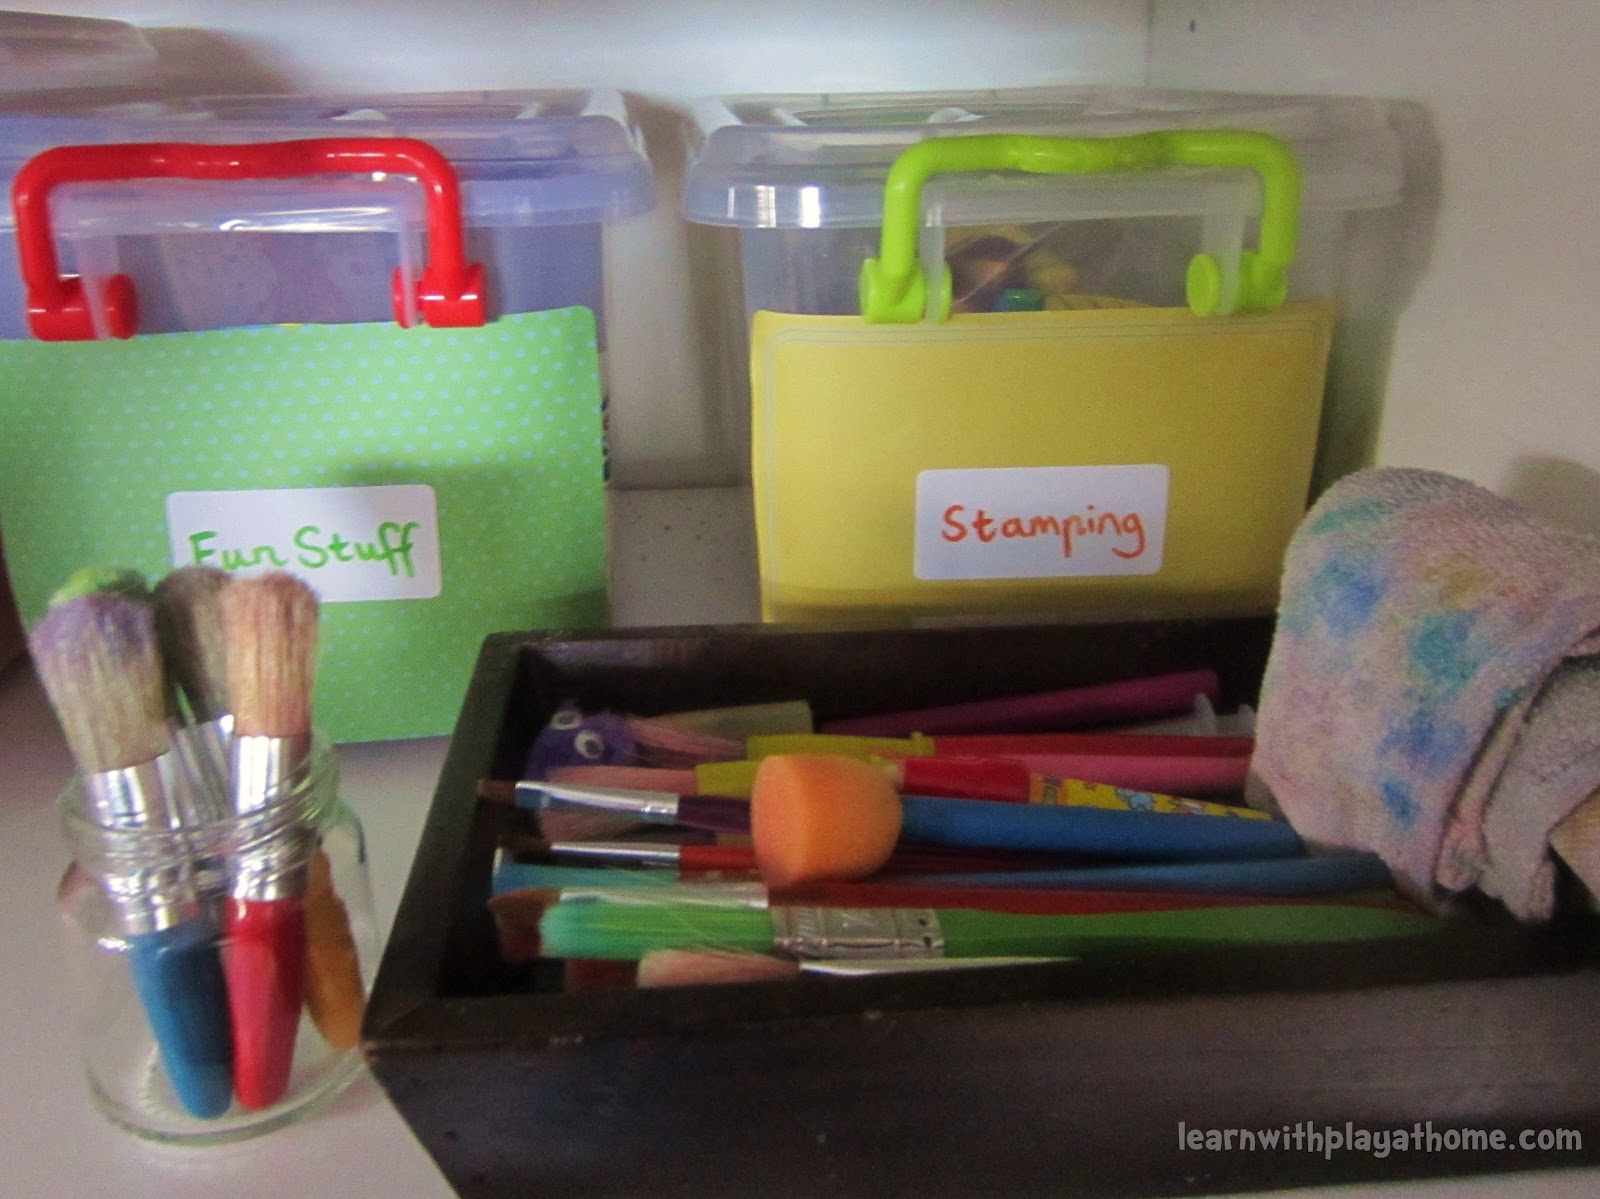
The tubs shown in the picture above are labelled:
"Gluing"(It's amazing how many different type of products there are to stick things!)
"Painting"(extra painting supplies that are less frequently used)
"Fun Stuff" (yep, more fun things like craft sticks, balloons, sparkly pipe-cleaners, pompoms etc.) and
"Stamping" (this one has bigger stamps for use with paint).
Everything is easy to see and therefore easy to use and keep clean.
You don't need fancy labels. If your tubs have other labels that won't come off, just stick a coloured piece of paper over it and stick a label over the top. These are just some handwritten texta labels but you could make some great ones on the computer if you have time.
Here you can see the easy access to our paint brushes and the use of a baby food jar.

Using recycled materials in your organisation saves you from buying tons of storage supplies.
The bottle caps are displayed in a vase and these marbles are in an old coffee jar.

Another coffee jar put to good use. You can also see a little bit of an old mini globe I had that had come off it's axle. a bit of fishing line and it's now a nice hanging feature inside my cupboard.

More recycled glass jars put to good use. I have a large plastic tub at the bottom of the craft cupboard where I put any glass jar with lid (and other recycled goods) to keep for future use.
Before I had the room in the cupboard, it used to sit at the bottom of the pantry so that my family could easily recycled them for me.
Handy Tips:
- Before rushing out to buy new storage tubs it is wise to figure out the supplies you have first and how you're going to categorise them so that you know how many, and what sized tubs/baskets etc that you need
- Have a look around your own house for things you could use to store supplies. You'd be surprised by how many appropriate things you could already own and that will save you buying some things.
- Save glass jars with lids of different sizes to help store and display items. They look good, make things easy to find and don't cost you anything extra. Plus... you're helping our planet :)
- Plastic containers and lids are also great to keep but I find are more disposable. Use them for paint pots, mess catchers, crafts and more.
- If you are worried about "wrecking" the inside of a cupboard by installing shelves, don't be. It's just as easy to take them all down again if you one day need to use the wardrobe for hanging clothes again!
- Your art/craft supplies will change and grow over time so making a space that is flexible (I can change the position of the shelves if I like) and offers different sized spaces (having a half shelf at the top also lets you stand taller things up on the shelf below it) will be the most user friendly for you.
- Remember, the easier things are to see, access, find etc, the more inspired you will feel to use them and the more likely that you *will* actually use them. My daughter gasped in wonder and amazement when I first showed her the cupboard makeover and right away saw things and got ideas for ways she could get creative. You will be more likely to get out different supplies for your child to use if you are well organised so this is of great benefit to them... (that's what you can tell the person you get to screw in the shelves for you if you enlist some manual labour to assist your creative process) ;)
Happy playing,
Debs :)
New Here? Subscribe to get all activities sent directly to you
Are you on Facebook? We are and we'd love to see you there. Hey, we're also on Twitter now too. :)


