Showing posts with label paper. Show all posts

Invitation to Create with Paper Napkins

Jan 11, 2013

Are you following us on Pinterest?

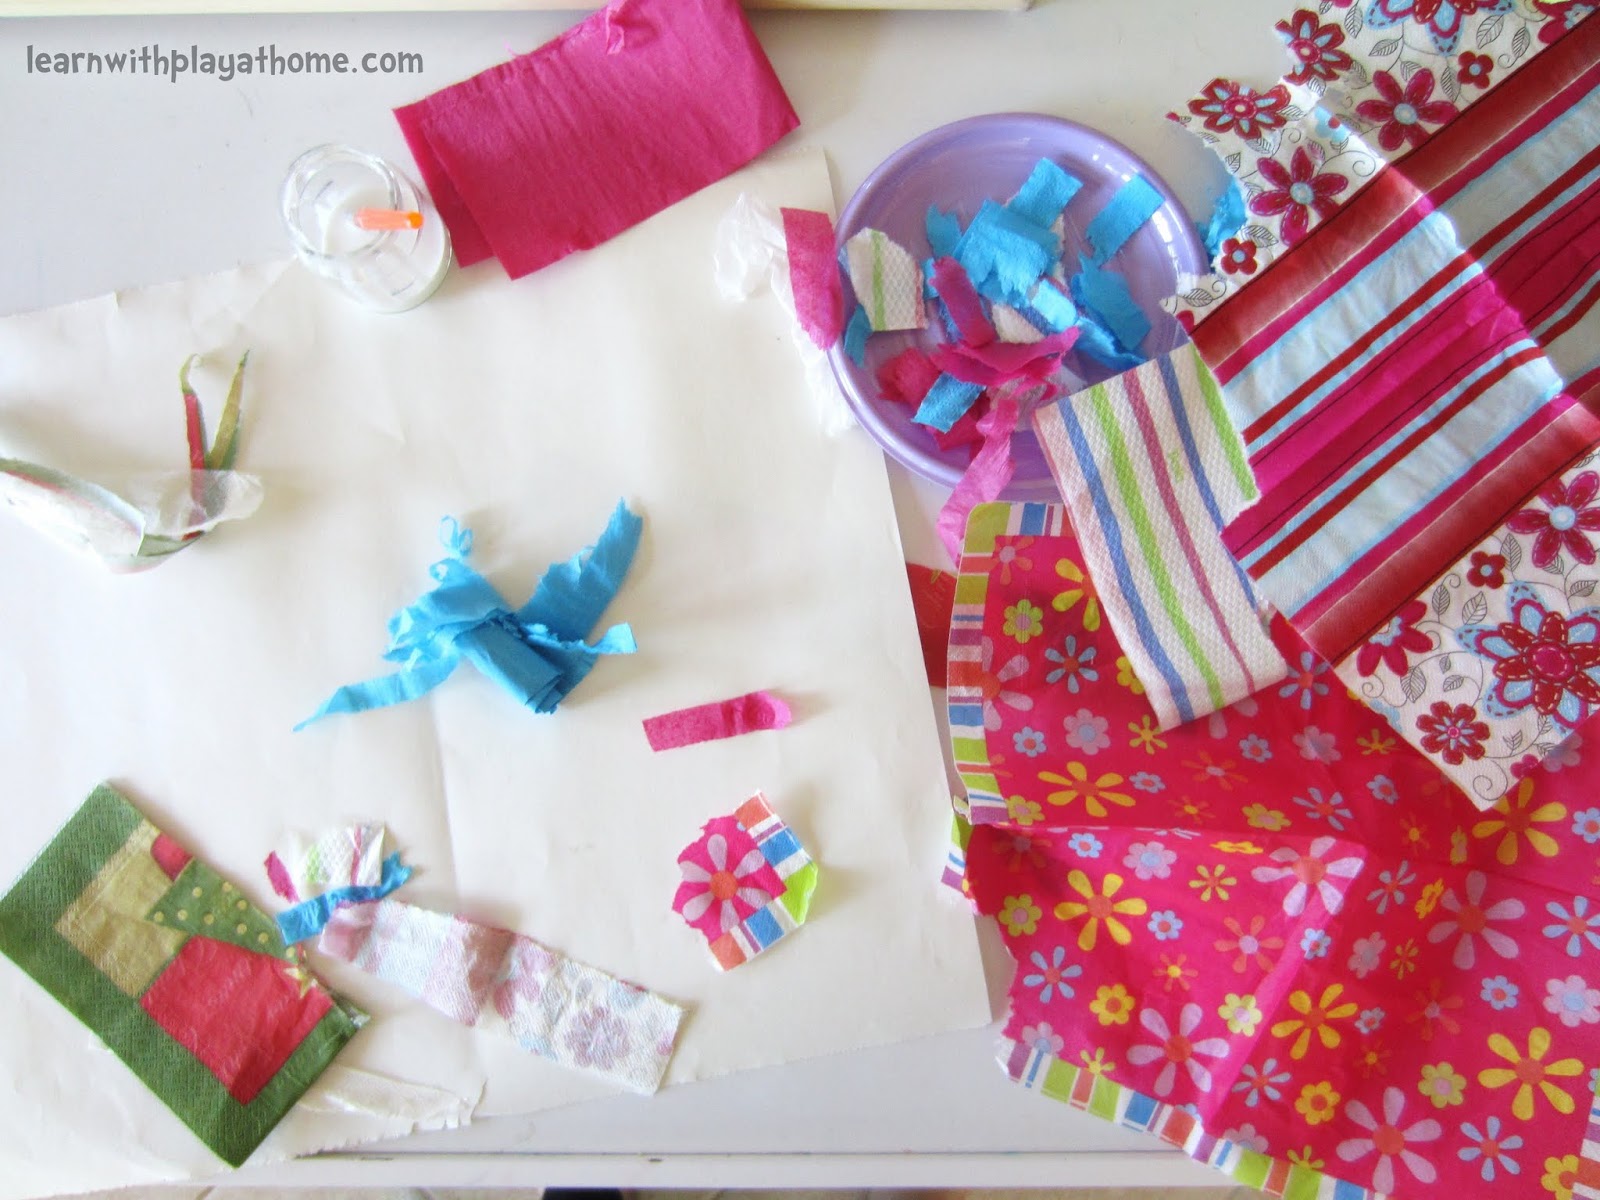
I discovered I had a bit of a collection of different coloured and patterned paper napkins the other day and thought they'd be great for a collage and some fine-motor tearing practice.
I was impressed by the learning that I'd not even anticipated.


Ages: 2+
(See Handy Tips at the bottom for ideas to Simplify and Extend to meet your child's needs)

Materials: Paper napkins, paper, glue, paintbrush

So, here's how it turned out for us:


I provided some pieces already ripped up in order to encourage her to tear the napkins. Great fine motor skills.


Problem Solving. Tearing the napkin while it was folded up was so tricky. Opening it out made it thinner and easier to tear through. We talked about layers, thickness etc.


She discovered one of the napkins was lined with a bumpy pattern. This gave us opportunities to talk about textures, patterns etc.


Lots of pasting


Hang on! This napkin was easy to tear even when still folded. We discovered different types of paper were easier or harder to tear through.


You don't have to always paste things flat


Colourful, creative FUN!


She pleaded with me for scissors so I gave in and let her have some. She discovered cutting paper napkins was more difficult than standard paper.


The finished piece


Handy Tips

Simplify this activity for younger children by providing the paper already torn or by helping them to tear it. Encourage them to talk about the colours and pattens of the paper napkins

Extend this activity by having your child make an art piece from their torn paper napkins and have them tell you a story about it. Write it down for them or have them write about it.

-Mix it Up by providing the paper napkins with a few different materials eg scissors, paint, water etc

Demonstrate and discuss particular skills if your child is new to these techniques such as tearing paper and how to tear around shapes etc.

- Use new language and descriptive words like, "layers" and "problem solving" This will help with their language development. 


Here are some more Activities to help practice Fine Motor Skills and Creativity
(click the picture to take you to the activity)


If you enjoyed this post, please spare a second to give me a vote in the "TOP 25 Creative Moms". 
Just click the badge below and click "vote" on Learn with Play at home. Thanks!

Happy playing,
Debs :)


New Here? Subscribe to get all activities sent directly to you
Enter your email address:


Delivered by FeedBurner
Continue reading...


Paper vs Foil vs Cellophane. The Great Paint Off!

May 18, 2012


We are always looking for and thinking of new, fun ways to paint, so when we decided to give painting with foil a try, I thought it might be interesting to test a few other similar(ish) materials to see what the difference might be.

This allowed us to experience and discuss different patterns and textures, try out different techniques, make observations and conclusions about the experiment  as well as the general fine motor development, sensory experience and creativity that comes with any painting activity.

You will need: Paint, Paper, Foil and Cellophane.

painting experiment, painting activity, toddlers, preschoolers

Let the Paint Off begin!

This activity was completed by a 3 year old but can be modified to suit a variety of age levels. See the "Handy Tips" at the bottom.

The invitation to start experimenting


 Ummm, but how to paint with them?
Discuss the different ways that you could use the materials to paint with and experiment or decide the best or easiest way


 We decided upon "scrunched"


 The cellophane was really fun as it made different patterns because it wouldn't stay in a ball


 The foil made a more consistent pattern and she found the silver glinting through the paint to be quite fasinating


 I started imagining all the different shapes you could make by moulding the foil. Maddie was content with this same print.


 She really loved painting with the paper. It was "much softer than the others" and "made cool shapes"

We observed that the shapes made were similar but could definitely see the difference and found the sensory aspect of the materials to be very different indeed

After the initial experimenting and testing of the materials, it was time for a collaborative art piece


 This time all the materials had their own paint colour so we could clearly see the distinctions on the paper


 The cellophane was dubbed as the worst to paint with due to it flapping around everywhere and not leaving a great pattern


 The foil ended up coming 2nd in favourites. Probably because it was easy to hold and manipulate and because she liked how shiny it was


 The Paper? You guessed it. It was the favourite.


 I found that it started to rip and come apart after time as it got soggier, but this didn't phase Madeline.


kids painting activity, painting activity, painting experiment
Original Art Masterpiece. Created with scrunched paper, foil and cellophane.


Handy tips:

-Simplify this activity by providing the scrunched balls of paper, foil and cellophane and just letting your child create some art using the different materials


-Extend this activity by having your child form some hypothesis about the experiment. For example, ask your child what they think the differences will be before you start the painting. Help them write or decide upon a statement about the results, ie. "The foil will be the best to paint with because of...." etc. "It will work better than the .... because...." etc. Then test the theory and see if you agree at the end.

- Use new language and descriptive words like, "patterns" and "experimenting." This will help with their language development.

-Ask questions to help connect their understanding and use vocabulary to give them words to describe what they're creating, eg. "What is it like to paint with that one?", "How are you going to hold that to get the best patterns?", "Why do you think the paper is ripping?" etc

- Listen to your child talk as they go through their experiences. This will help you determine where they are at with their learning, knowledge and understanding and help you to develop the activity (or future activities) to their level and interests.


Debs :)

If you haven't come over to play with us on facebook yet, we'd love to see you there. Hey, we're also on Twitter now too. You can also subscribe (top right) so that you don't miss any fun activities.


Continue reading...


Hole Punch Art

May 14, 2012


This is a fun and easy activity that encourages creativity whilst also practicing fine motor skills, hand-eye co-ordination and other skills. It also makes a fabulous piece to display or use later.

Madeline is 3 years old. See the handy tips at the bottom for ideas on how to simplify or extend to suit your child's level of development.


easy art for kids, activity for kids, children's art, fine motor skills
You will need strips of coloured/patterned paper (double width so that half can be punched and half overlapped), a hole puncher, a piece of backing paper and a glue stick


Punch holes along one side of a paper strip


Glue a width of the paper strip on the backing paper


 Stick down a strip with the hole punched side at the edge of the backing paper


 Time for more hole punching and practicing coordination and fine motor skills


 Overlap each strip of paper so that the holes punched in the top strip show the colour of the last strip like this (I couldn't resist making one too as they looked so pretty)


 Continue overlapping the hole punched coloured paper strips until the entire backing paper is covered


Let your child choose the colours and order


 She was very happy with the end result


Madeline and My Hole Punch Art


Handy Tips

- To simplify this activity a standard 2-hole, hole puncher would be easier for littler hands. If this is also too hard, provide the child with pre-punched strips of paper and help them with the pasting and overlapping

- To extend this activity, your child could be responsible for cutting the strips themselves. Also encourage them to choose the colours and design. Could the strips be overlapped in a different way to create a different effect? Let them experiment and create

- Pride. Making things that look visually pleasing as the end result help your child feel proud about what they have created. Giving your activity a special purpose, (like a gift for a loved one) can also help instil some pride in their work.

- Use and explain new language and descriptive words like, "overlapping" This will help with their language development.

- Demonstrate and discuss particular skills, such as hole punching or overlapping, if your child is new to these techniques

- Use whatever hole punch you have at home, it doesn't need to be a single one like ours.


Debs :)
Look where else we are. Are you following along? :)
New Here? Subscribe to get all activities sent directly to you
Enter your email address:


Delivered by FeedBurner

Continue reading...