Easy Cookie Recipe. Cooking with Kids

Dec 17, 2012


Here is an basic cookie recipe that you can use for cooking with kids

The processes are easy enough for children to be able to attempt or complete most of them with minimal assistance depending on their age and skill levels

Ages: 2+
(M was 2 (almost 3y/o) here. See the bottom for tips to Extend or Simplify for your child)


We used the recipe that came with the cutter to make Christmas Tree Cookies. I find these cookies end up somewhere between a sugar cookie and shortbread. The mixture is crumbly and the cookies it makes are perfect for decorating.

Here it is:

Ingredients
  • 120g Unsalted Butter
  • 1/2 Cup Castor Sugar (fine white sugar)
  • 1 whole egg
  • 2 cups sifted self-raising flour
  • 3-4 drops vanilla essence


Method
Children need constant supervision while cooking
  • Preheat oven to 170°C (338°F or gas mark 3) and lightly grease 2 oven trays (or line with baking paper)

  • Beat together the butter and castor sugar until light and fluffy using an electric mixer
  • Add the egg and mix till combined


  • Sift the flour and add it and the vanilla essence to the mixture


  • Knead the mixture and make a ball.
  • Wrap the dough in plastic film and refrigerate to let it rest for approx 20 minutes (perfect amount of time to clean up any mess, toilet break etc. and get prepared for the other steps) 


Yes, we have a laugh while cooking too. I love the time spent with my kids


  • On a lightly floured surface, roll the dough until it's 4-5mm thick  (As the dough is quite crumbly it will probably need to be re-rolled a number of times. Get a flat, smooth area, cut any shapes you can and then scrunch back into a ball and roll again)


  • Using a cutter, press out your shapes (When placing shapes on your tray, use a spatula to lift the cookies so that they don't break)
  • Place in the oven and cook for about 5 minutes or until lightly golden


  • Allow to cool on a wire rack (they will still be soft to touch when you remove from the oven. They harden up quickly as they cool)


  • Decorate as you like


We love Cooking with Kids here are a couple of other posts you may like
(click on the picture to take you to the post)


Handy Tips:

- Simplify this activity by assisting your child in any of the processes they need help with. Instruct and guide your child as they are learning.

Extend this activity by having your child attempt as many of the processes unassisted as they can. Allow them to measure and talk about the numbers, symbols etc. Have your child read or write the recipe themselves.

- Mix it up by adding some essence/flavouring to the cookie mixture for different flavours. 

- Use any kind of cookie cutters you have. You can even add some food colouring if you're adventurous for coloured cookies

- Let your child have some input into the decorating. You could provide them with icing etc or they could make their own. This is where you can get creative.


Happy cooking,
Debs :)


New Here? Subscribe to get all activities sent directly to you
Enter your email address:


Delivered by FeedBurner
Continue reading...


Tinsel Treats Table Tree. Christmas Craft for Kids


I've been making these Tinsel Treats Table Trees for years.

It was always a favourite end of year Christmas Activity in my class.

They make gorgeous little gifts or lovely table decorations that children can make


Ages: 3+
(see Handy Tips at the bottom to simplify or extend to meet your child's needs)

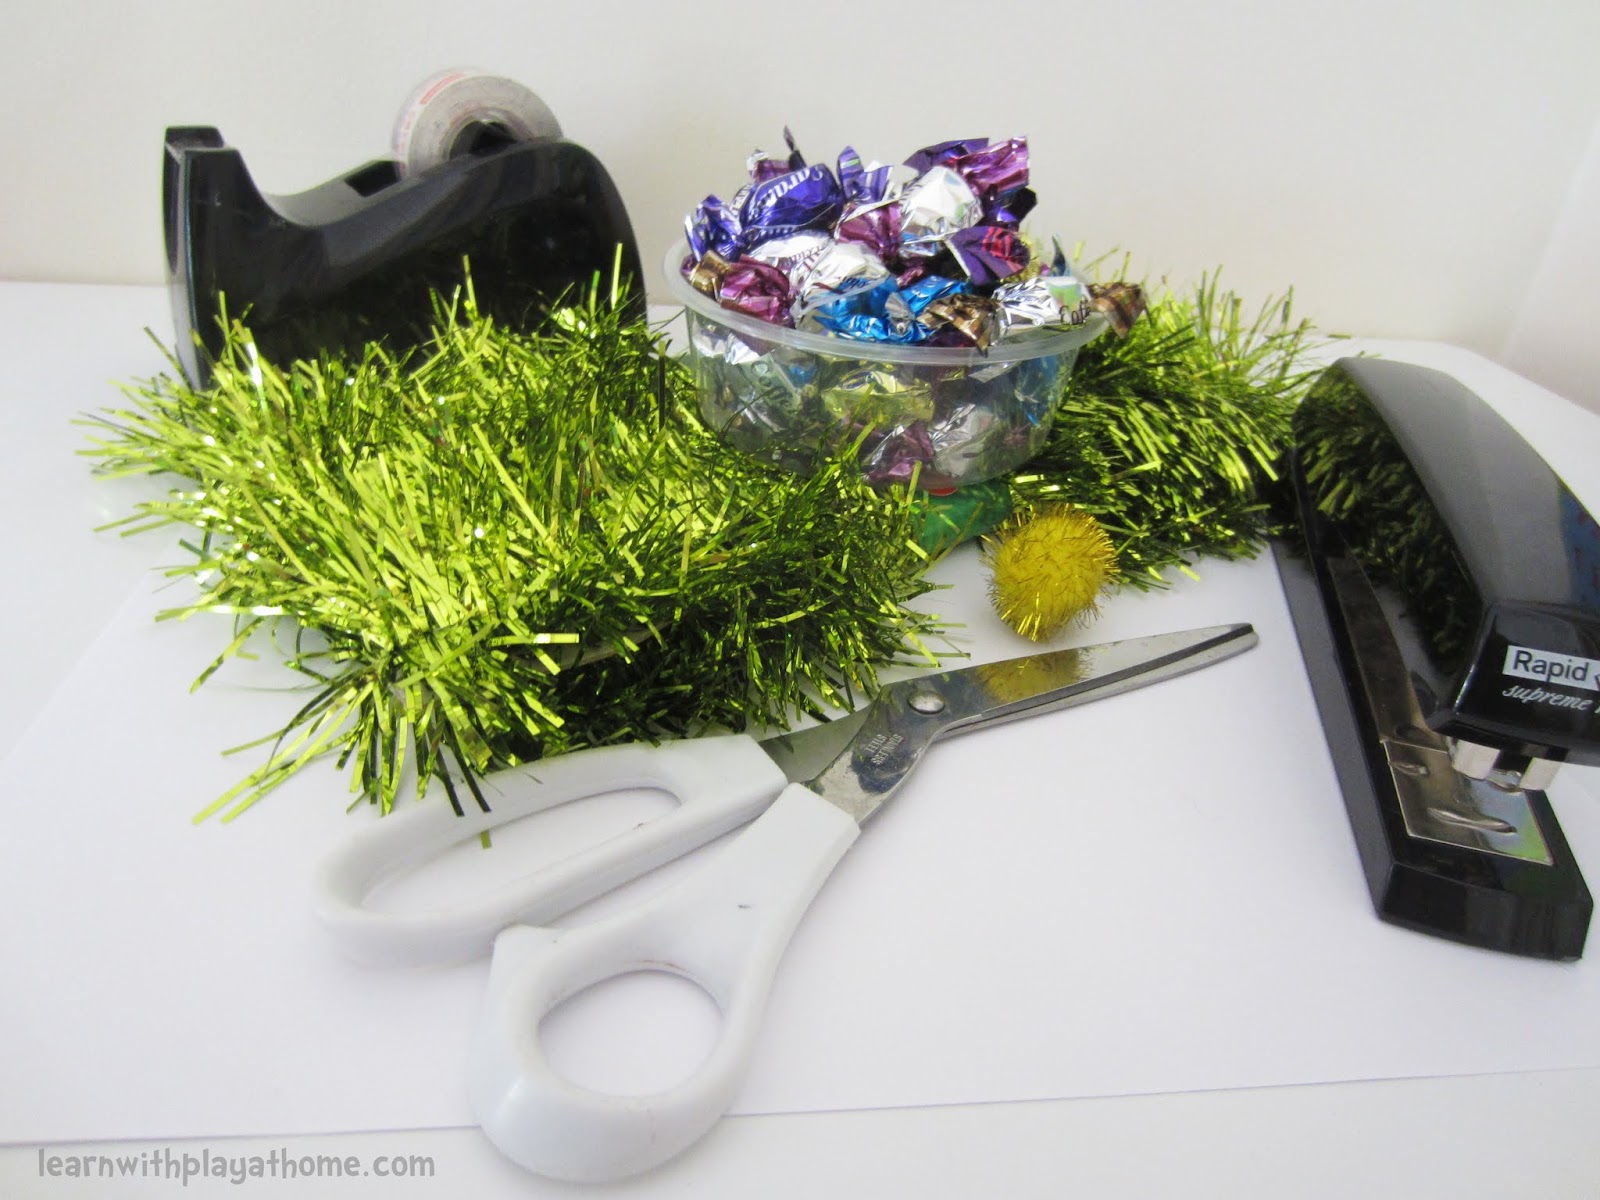
Materials: Thick paper/card, tinsel, wrapped lollies (candy), scissors, stapler, sticky tape, pompom/star for top(optional)


1. Make a cone shape from the thick paper/card and staple to hold together
2. Trim off the bottom to make to make a cone that will stand up
3. Your cone shape (tree) is ready for decorating


Tape one end of the lolly (candy) wrapper on to the cone shape


Continue until you have a well decorated tree


Staple one end of the tinsel wreath to the bottom of the cone


Carefully wrap the tinsel around and around the tree


As you go around, lift the wrapped candies up to allow the tinsel to cover the tree but not the candies.


One your tinsel reaches the very top of the tree. Staple in place and cut off any excess


Maddie wanted to stick a golden pom-pom on top. She attached it with sticky tape


Our finished trees. I made a purple one and M (aged almost 4 made the green one)


Here are more Christmas Tree activities for you


Handy Tips

- Simplify this activity by assisting your child wherever they need. Younger children still working on developing their fine-motor skills will need help with things like getting the sticky tape (pre-cut pieces for them), wrapping round and round, etc. Making the cone for the child first is a good place to start.

- Extend this activity by allowing your child control over as many processes as they are capable of. Have them make up the cone shape first. This seems relatively easy but depending on the shape and size of your paper, could be tricky.

- Alternatively, you could wrap the tree in tinsel first and then lift up the tinsel to stick the candy wrappers underneath. This is probably an easier way for people with more advanced coordination. Sticking the candies on first will be easier for littler hands.

- Mix it up by making your trees any colour you like to match your theme. Use more or less lollies (candies) depending on how covered you want the tree. Try making a tree entirely covered in wrapped candy.

- Talk with your child about the processes they are going through, ensuring you are using the descriptive language that goes with it. eg. "wrapping, around, under, over, cone, top, bottom" etc


Happy playing,
Debs :)


New Here? Subscribe to get all activities sent directly to you
Enter your email address:


Delivered by FeedBurner
Continue reading...


Kimochis Nesting Heart. Ease Separation Anxiety

Dec 13, 2012


I'm a sucker for a good soft toy but with the millions upon millions of soft toys my kids have managed to collect in even the short amount of years they've been alive, it'd have to be a pretty special soft toy to have me considering buying any more.


Did someone mention pretty special soft toys? Combine beautiful quality and styling with the power of feelings, interaction and education and I think we may have just found some....

Introducing, Kimochis. Multi award winning toys with feelings inside that act as a powerful learning tool to help build confidence, resilience and positive social skills.


They have just released their newest member of the Kimochis family, the Nesting Heart


My daughter's delight at receiving the Nesting Heart


Yes, there are 2 parts of the Nesting Heart

Designed to help Ease Separation Anxiety, the Kimochis Nesting Heart is the ideal gift to help children stay comforted and connected.


I love how the Nesting Heart comes with a user guide which helps parents (and educators) to use the heart to it's full potential. There are suggested activities and prompts for how to communicate making it an even more valuable resource.


The gorgeous plush heart shape with it's soft smiling heart nestled inside is such a beautiful physical and emotional symbol to remind children that "Even though we are apart, you are always in my heart"
My almost 4 year old connected with the symbolism instantly as I could see by her actions and the way she handled the Nesting Heart.


M is greatly looking forward to taking her Nesting Heart when she goes to stay at Nana's house and it is going to be great with her starting Kinder (preschool) next year. She insisted it go with her to 3 year-old kinder the other day and I was to look after her "mini heart" as she calls the middle part :)


Why do I love Kimochis?

Kimochis (which means "feelings" in Japanese) are plush characters which come with feeling cushions that teach children how to recognise, name and communicate their feelings. This is an area of intelligence that is often missed in formal education.

As a Teacher and Mother, I think that it is incredibly important for young children to practice and develop their Intra-personal skills (which is their understanding of self) and I believe Kimochis are a fabulous tool for this. I also believe that as children develop their Intra-personal skills, this in turn leads to the development of their Interpersonal skills (understanding and dealing with others).


It really is no wonder to me that Kimochis were Voted Australia's most Innovative New Toy by ToysRus in 2012 and Top 5 Favourite Gift by Greetings and Gifts Magazine, Oct, 2012. 


Your Chance to Win


Kimochis are giving 5 lucky Learn with Play at home readers
 a gorgeous Nesting Heart for their kids

***Competition Now Closed***
Congratulations to the following readers
Katey
Amie
lynda
Kate Lloyd
Crystal Bard
Please contact us with your postage details so we can send your Nesting Heart.
(Unfortunately due to some competition winners not meeting the T&C, 2 new winners have been contacted) 


How To Win

Leave a comment on this post telling us why you (or your child) would love a Nesting Heart?

The 5 most creative/original responses will win a Kimochis Nesting Heart. 
If you don't comment with a registered account, please leave an email address so we can contact you if you win.


Terms and Conditions
- Apologies but this giveaway is open for Australian Residents Only 
- The competition begins Thursday 6th Dec and ends Wednesday 12th December at 9pm (EST)
- The winner is chosen based on originality and creativity
- Entrants will need to provide a valid email address
- The winner will be contacted via email and announced on this post and via FB and Twitter. Winner will need to get in contact and provide their postal address within 48 hours or the prize will be redrawn.


For more information on Kimochis, including their other toys, educators toolkit (teachers really need to see this!) or more. See their website or facebook page.


Happy playing,
Debs :)

{Disclosure: this is a post sponsored by Kimochis. We received the Nesting Heart to trial and review for the post. Opinions expressed in this post, as always, are my own}


New Here? Subscribe to get all activities sent directly to you
Enter your email address:


Delivered by FeedBurner
Continue reading...