Showing posts with label pasting. Show all posts

Ice Cream Number Learning Activity

Jan 18, 2013

Are you following us on Pinterest?


We love getting hands on and sticking and pasting. It's also a great way for us to include some number learning as it takes many experiences with numbers to consolidate the learning.


Here I provided a fun Invitation to Play and Learn, (see end note on this if you want to replicate our exact poster)  intended to practice number recognition, counting, ordering, colours, subitizing, shapes and language using a few simple materials. My daughter who's just turned 4 also managed to include some sorting as well.


Ages: 3+
(See Handy Tips at the bottom of the post for ideas to Simplify or Extend to meet your childs' needs)


Materials: Large piece of paper for sticking your ice creams on, Triangle Cardboard "ice cream cones" with numbers written on each, Different coloured/textured/patterned paper circles (I cut mine with a 2" circle cutter but you could fold and cut simple semi circles by hand), glue stick. 


I presented the tubs and sat back to watch what she would do. 
She was quick to dive into the cones.


Straight into sorting them from smallest number to largest number without prompting


Pasting the cones down in order. I assisted her to leave adequate gaps between the cones as she decided she wanted to use the whole paper and fit all of them on. Spacing was too difficult for her at this stage


She couldn't wait to get to the "ice cream" The first thing she did was sort them into colours/patterns and then assign them all different flavours. There was lots of great language practice and creativity


Pasting the corresponding amount of ice cream scoops on each cone. Plenty of counting and one-to-one correspondence took place. 


For the numbers 6-10 I used "double cones" because I wanted two rows side by side for the larger numbers to help my daughter recognise some of the number doubles/combinations that make up those larger numbers. (eg 8 = 4 + 4)
(It was also handy because the paper I got out wasn't tall enough to fit 10 ice cream circles in one line without me cutting and sticking on extra paper anyway)


Our finished poster. Great for a bright, fun playroom or classroom display


Handy Tips:

- Simplify this activity by starting with the numbers 1-3. This amount will be more managable for those with a more limited understanding of numbers. You could also pre-stick down the cones and just have children add the corresponding number of circles.

- Extend this activity by having children cut and label the cones themselves. You can also work on a larger scale with bigger numbers etc. Pick a larger number and have children make up different combinations of amounts of ice cream scoops on each side to equal that number. What if you had a triple cone? etc

- Focus more on number combinations and addition by only including 2 or 3 colours of "ice cream" and having children make different combinations to make a given number. 

- Makes a fun group project

- I included the dots on the cones for subitizing practice (where just looking at the 3 dots you can know it's 3 without counting them one by one). It's also good for children still working on number recognition as they can count the dots to find the number written on the cone.

- How you present an activity can be what makes it a successful activity or not. Sometimes just bright, colourful or interesting invitations can be enough to draw a child into the learning. Sometimes, if you are looking for desired outcomes, say, in an activity like this, you might want to encourage young children by inviting them to "come and make ice creams" with you. 
The number learning will come from that but first you can get excited together about the wonderful colours and dreaming of all the delicious flavours. 
Make it appealing, make it fun and children will be excited to learn.

Note - I was able to provide this activity as an Invitation to Play and Learn and as my daughter is quite used to this sort of play and I didn't have a set end result requirement. She responded in an expected manner and ended up, (with very limited assistance or prompting) with my "hoped-for" end result. However, she could have done something completely different and we would not have ended up with the same poster at the end. If you're after a set result (eg. making that Ice Cream Numbers poster, you may want to explain your expectations rather than simply provide the materials)


Looking for more fun NUMBER activities for kids?


If you enjoyed this post, please spare a second to give me a vote in the "TOP 25 Creative Moms". 
Just click the badge below and click "vote" on Learn with Play at home. Thanks!


Happy playing,
Debs :)


New Here? Subscribe to get all activities sent directly to you
Enter your email address:


Delivered by FeedBurner
Come & find us here ->
Continue reading...


Sensory Flower Petal Picture

May 1, 2012

Flower Petals can be extremely interesting for young children thanks to their varied shapes, sizes, perfumes, texture and wonderful colours. Delight their senses by letting them create a picture entirely out of petals.

First you'll need to collect some petals. This can be from your garden or those collected on a nature walk. (This can also be a good time to discuss how to and when you are allowed to, pick flowers!)

nature picture for kids, kids activities, pasting petals
 Paper glue is fine for gluing petals. You'll also need your petals and paper to create on. This was our only available colours of petals at this stage but as we have different coloured flowers come up depending on the season, we look forward to making something entirely different next time.


She stuck on and arranged all the petals she wanted for her picture and then created a pretty patterned flower petal border with the left overs


Handy Tips:

- Use this activity to talk about and further explore colours, patterns, textures, scents, nature, art etc

- Observe how the picture changes over time as the petals dry out.

- Extend this activity by also giving your child a black marker or fine liner to add detail to their picture. Try making things like petal bugs etc. by adding legs and other details with the pen.

-Ask questions to help connect their understanding and use vocabulary to give them words to describe what they're creating, eg. "What are you creating?" "Why did you arrange the petals like that?" "What do you think is going to happen to the petals over time?" "I love the pattern you've made" etc

- Listen to your child talk as they go through their experiences. This will help you determine where they are at with their learning, knowledge and understanding and help you to develop the activity (or future activities) to their level and interests.


Debs :)
Look where else we are. Are you following along? :)
New Here? Subscribe to get all activities sent directly to you
Enter your email address:


Delivered by FeedBurner

Continue reading...


Sticking Sequins. Pincer Grip Practice.

Apr 6, 2012

Young children are continuously developing their fine motor skills with just about everything they are doing. To really help them develop a good pincer grip, we are using a tricky, slippery little material, sequins!

This activity really couldn't be more basic to set up and implement. Set up an Invitation to Play with some exciting, shiny, coloured sequins, some glue and a piece of paper and let them loose.

kids activities, toddler activities, fine motor skill development, creativity
 Grabbing some sequins from a container is a little easier as they have more to grip at.
To make it a little trickier, tip the sequins out on the table. This also helps them to see all the different shapes and colours of sequins so they can be more specific about which they choose


Learning to apply just the right amount of glue to stick the sequins down one at a time


Handy tips:

- Simplify this activity by keeping the sequins in a container so they are grouped together and easier to pick up

- Extend this activity by drawing a line or pattern on the paper and have you child stick the sequins along the line

- Use this activity to practice particular skills such as applying certain amounts of glue to certain areas etc.

- Demonstrate the best way to do these skills if needed. Eg, wiping the excess glue from the brush first etc.

- Talk about the different colours of the sequins and listen to them tell you about what they are doing


Happy playing,
Debs :)
Look where else we are. Are you following along? :)
New Here? Subscribe to get all activities sent directly to you
Enter your email address:


Delivered by FeedBurner

Continue reading...


Create an Underwater Scene. PART 2. The Diorama

Mar 31, 2012

Since making our fish we've been excited about making the Underwater Scene for them to live in.

This activity would work best as a follow up or precursor to an excursion to the aquarium or beach, as an activity to complement an interest or in conjunction with a book about fish or the ocean.

Before starting the diorama we researched, using the Internet and books we had about what we might find on the bottom of the ocean.


fish craft, activities for kids, under the sea craft


Here is how we made it:


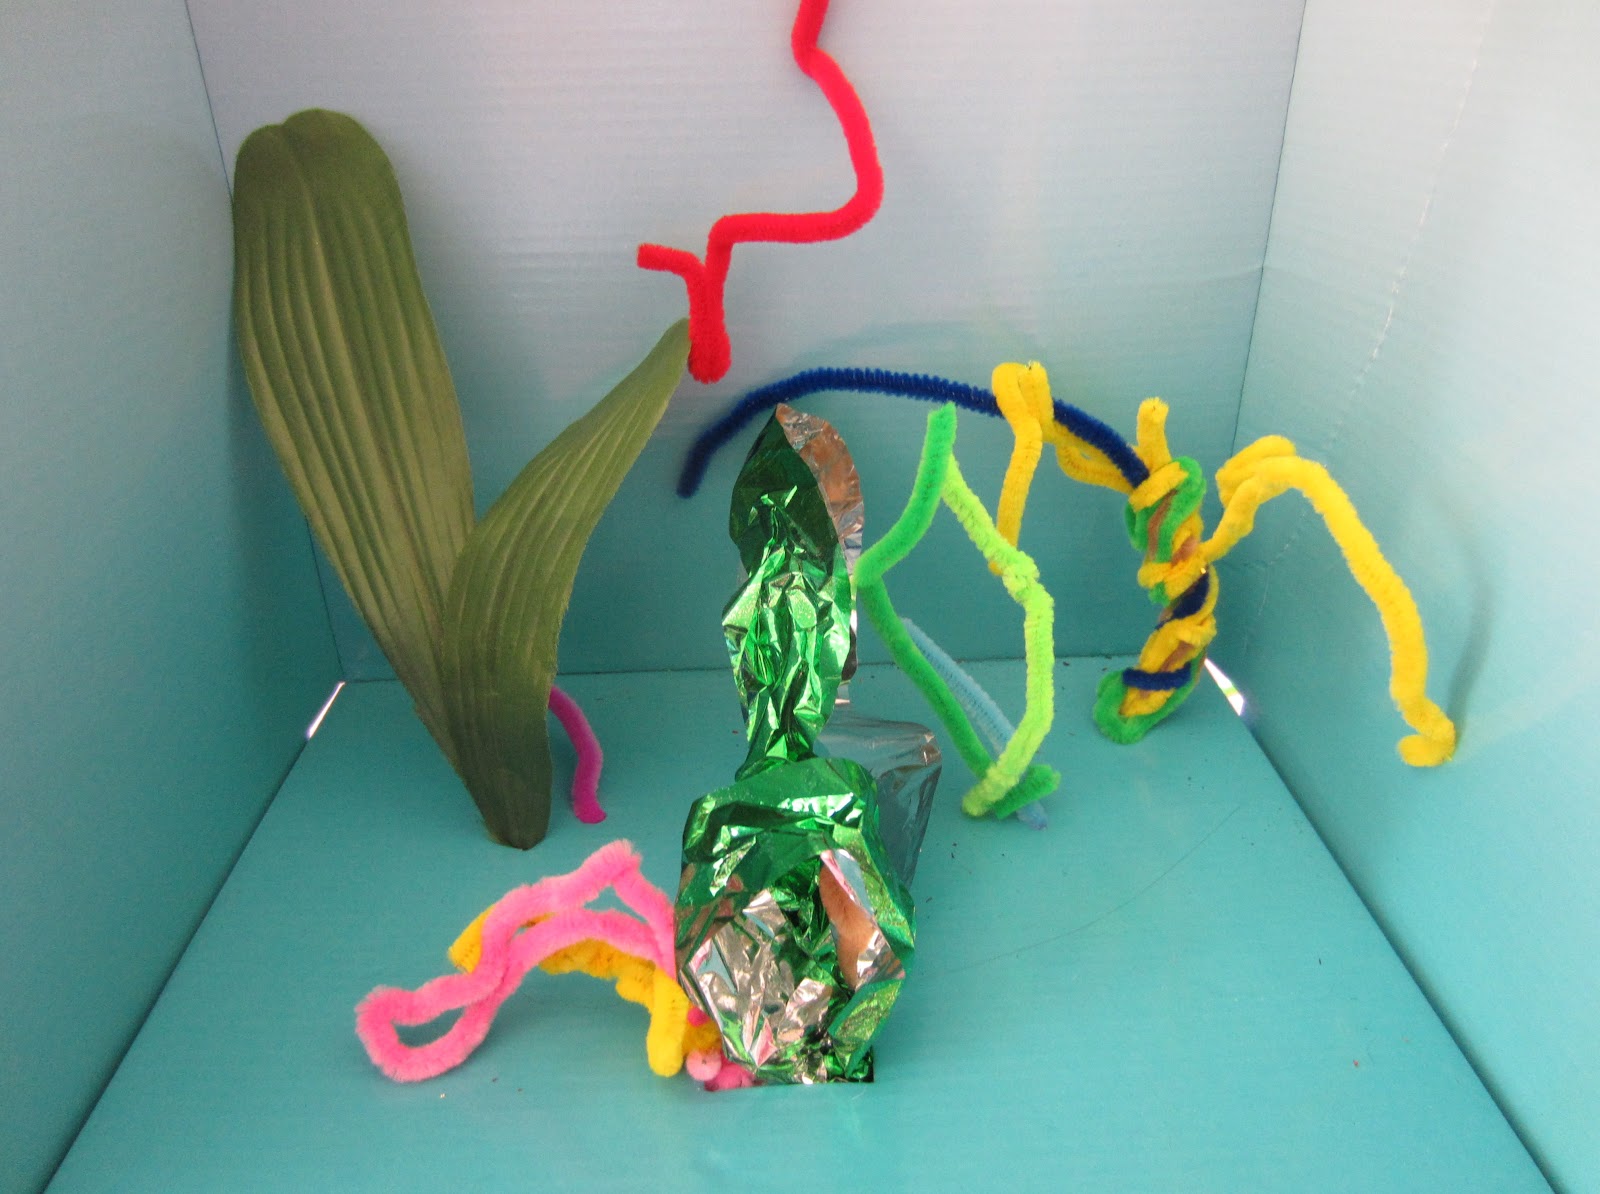
 Here are the materials we used. Cardboard box (we found one that was already blue inside but if you're using a shoebox etc, you might want to paint the inside or cover with cellophane paper etc), rocks (can collect from outside or use river rocks), fishing line (to hand the fish), fish (see how we made them here), PVA glue and brush, things to make coral and seaweed (we used, pipe cleaners, shiny green paper and leaves...you can use whatever you can find around the house), sticks, tape and sand.


 Tearing the green shiny paper in strips to make the seaweed. Good fine motor skill practice


 Twisting and manipulating the pipe cleaners to make coral and underwater plants


 Taping a pipe cleaner to a strip of green paper so that it can be bent into a shape for seaweed


 Poke holes in the bottom of your cardboard box for your child to poke their seaweed, coral and plants in


Pouring glue over the bottom of the box. Being careful to avoid the plants


 Spread the glue so it covers the entire bottom of the box


 Her FAVOURITE part. Sprinkling the sand all over the bottom of the box


Allow the glue to dry and shake off excess sand. Then add your rocks


 Almost finished! Time to add the fish. I taped a loop of fishing line to the back of the fish so they could hang over the sticks


 Hang the fish on the sticks and then place over the top of the box


The beautiful underwater scene in finished. We had a lot of fun creating this. Hope you do too


Some tips:

- You don't have to use all these same materials. See how we did it and then hunt around your own house for things that would work as well

- Take the time to focus on improving particular skills with your child and help them to practice, ie. Carefully pouring glue so that it goes where intended.

- Extend this activity by letting your child attempt some of the more fiddly parts like poking holes where they want their plants and taping fishing wire onto the fish. Ensure that you have talked about and researched the bottom of the ocean so that your child gains a better understanding of what you are doing and why.

- Making things that look visually pleasing as the end result help your child feel proud about what they have created.

- Talk with your child about what they are doing. This will help them understand the physical and mental processes they are going through as well as giving them the vocabulary to describe it.

- Use new language and descriptive words like, "coral" This will help with their language development.

-Ask questions to help connect their understanding and use vocabulary to give them words to describe what they're creating, eg. "How are we going to get the plants to stand up in the bottom of the box?" etc

- Listen to your child talk as they go through their experiences. This will help you determine where they are at with their learning, knowledge and understanding and help you to develop the activity (or future activities) to their level and interests.

-ENJOY spending time with your child :)

Debs :)


Look where else we are. Are you following along? :)
New Here? Subscribe to get all activities sent directly to you
Enter your email address:


Delivered by FeedBurner

Continue reading...