Showing posts with label tactile. Show all posts

Multi Material Playdough Exploration

Apr 9, 2012

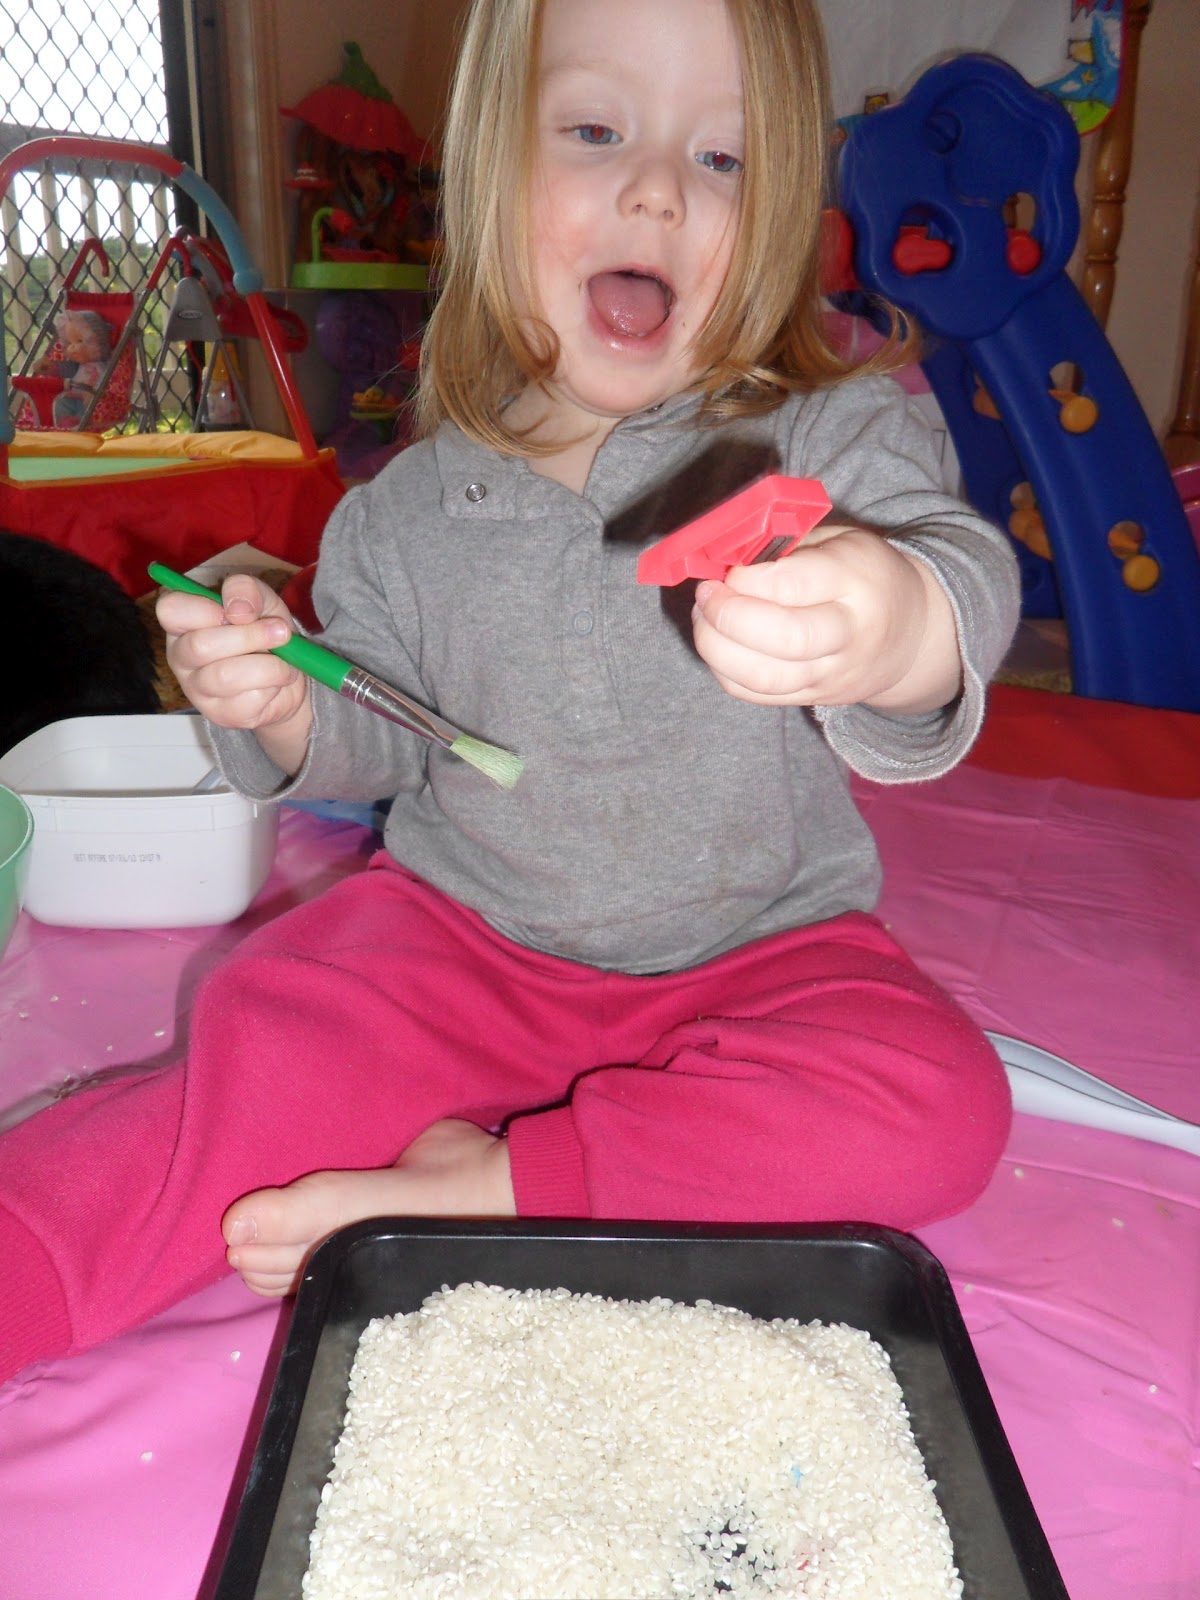
Here is another open ended Invitation to Play idea that could have your child occupied and learning for ages. A Multi-Material Playdough Exploration.

Develop those senses, practice skills and give their brain a work out by providing a range of attractively presented materials to work with a play dough base.

Ages: 1+

activities for kids, sensory activity, playdoh activity, toddler fun, preschooler activity
Materials: This was a simple set up of 4 different coloured balls of playdough and 6 different tubs of materials


 The containers held the following materials.
1)Patty pans and doileys (she used them before I got a pic), 2)Soft things- pom poms and wool, 3)Pretend play objects- Small plastic animals, trees and fences 4)Long stick like objects, straws, coloured sticks and coloured popsicle sticks, 5)Mix tub- cut up pipe cleaners, little bits of wood ends and plastic teddy bears and 6)Basic playdough tools- rolling pin, cutters and pattern roller


Simply 'discovering' and exploring the different materials within each tub was fun and exciting.
Giving her choice and control over what and how she used each item was what kept her exploring and manipulating for quite some time.


Some tips:

- Repeat this activity time and time again with the same or different materials. You will be surprised by the amount of different ways they use the same materials.

- If you feel your child gets "stuck" repeating the same process again and again, you could play along side them and explore different ways to use the materials yourself. Your child will see what you are doing and how you are doing it and learn

- Use the materials you have at your own house. You don't need to buy things specifically. Be creative with what you find around the house for them to use.

- This activity would be enjoyed by children of all ages


Happy playing,
Debs :)
Look where else we are. Are you following along? :)
New Here? Subscribe to get all activities sent directly to you
Enter your email address:


Delivered by FeedBurner
Continue reading...


Pipecleaners, Craft sticks, Playdoh & Animals. Invitation to play!

Mar 28, 2012

Open ended activities (meaning there is no specific end result required and children can take the activity to whatever level they desire) are my all time favourite types of activities with children.

Whilst we always have a lot of fun learning new skills and creating decorative and useful items when crafting or cooking, providing an activity that I don't know exactly where it's going to lead is when I witness the most authentic learning and where I experience the most delight watching.

Providing 4 materials for my daughter to manipulate and explore on a mat is how I created this invitation for play. The rest was up to the child.

toddler, kids, activities for kids, fine motor skills, playdoh, pipe cleaners
 Here is the invitation to play


 Bypassing all the animals, it was "plant making" time with the pipe cleaners and playdoh


 Using coordination and fine motor skills to wrap one pipe cleaner around the other


 The beginnings of a sculpture. Giving their brain a workout and using problem solving to make things stand up, stay upright, keep balanced etc.


 This is perfect fine motor skill practice for young children. Simply wrapping pipe-cleaners around craft sticks


 She spent a long time wrapping and wrapping and wrapping to create this beautiful "plant," using the playdoh as a stand


"I'm making a sun"


Some tips:

- Notice she didn't use the animals at all. Not once. This is fine. Allowing them to choose which materials they deem necessary to whatever they are creating is important for their own creativity and problem solving. Letting them know they don't have to use everything they see could be valuable for your child

- This activity really doesn't need to be simplified or extended. That is the beauty about open-ended play.

- Listen to your child talk as they go through their experiences. This will help you determine where they are at with their learning, knowledge and understanding and help you to develop the activity (or future activities) to their level and interests.

- This activity can be repeated time and time again with a different end result each time. You can also mix around and change some of the materials that you provide each time to inspire new ideas

- Use this time to demonstrate particular skills to them that they might be attempting unsuccessfully. Just learning to wrap something around an object might need some guidance. Wrapping a pipe cleaner around something solid and stable like a craft stick is easier than wrapping one around another pipe-cleaner. Start with the easier experience first and work up to the harder experiences.

- Make your child aware of the problem solving they are doing with questions and comments. "How did you get that pipe cleaner to stay on the end of the craft stick?" "Using the playdoh as a stand was a good idea to get your plant to stand upright" etc


Debs :)
Continue reading...


Colour mixing on canvas

Mar 23, 2012

What better way to learn about colours then to make them yourself?

activities for kids, colour mixing activity, learn about colours
Here I provided 2 Primary colours (red and blue) and a shade (white) along with a small canvas and said, "Go for it!"


 Squeezing out paint requires a lot of concentration. We're practicing our hand-eye coordination at the moment. "It's coming out squiggly, Mummy" Also developing language.


 No better way to mix paints than with your hands. A tactile experience, and did we mention, fun!


 "My hands are purple like my canvas"


 "Some bits are blue, some bits are red and some bits are purple. I can't see any white!"


How to remove some of the excess paint off our hands? Purple hand printing!


Some tips:

- Simplify this activity by only providing 2 Primary Colours and leave the shade out

- Extend this activity by providing all 3 Primary Colours and have your child experiment till they make the chosen colour (eg, Purple)

- Ask questions to help connect their understanding eg. "How did you make purple?" "Which colours did you start with? What did the white do? etc

- Listen to your child talk as they go through their experiences. This will help you determine where they are at with their learning, knowledge and understanding and help you to develop the activity (or future activities) to their level and interests.


Debs :)
Continue reading...


Experimental "Cooking"

Mar 13, 2012


This super sensory, tactile experience allows your child to experiment with various liquids and solids and work out for themselves, the relationships between the ingredients. And the best part is, it takes very little preparation and only uses left over bits and pieces from your own pantry.

My child loves cooking but obviously most of the food you cook needs to follow a specific recipe and is very structured. Here is an unstructured way that allows them to practice the same skills required for cooking (such as pouring and measuring etc) but also lets them touch and manipulate the ingredients in whatever way they want.


This is LOTS of fun but can get very messy...  (isn't that half the fun though?) :)

Ages: 2+
(M was 2 here)

 Lay out the ingredients for your child and provide various containers, spoons, implements etc that they could use in their processes.
Materials: flour, baking powder/soda, coloured water, vinegar and some old herbs, bowls, spoons etc.


 Practicing hand eye coordination while pouring in some vinegar


 Nothing happened when the vinegar was added to flour but LOOK at what happens with this other white powder! (Baking soda/powder)


 "Oooh, the more I stir the more bubbly and frothy it gets"


 Time to make it smell nice, let's "sprinkle" some herbs


 What does it feel like? "Squishy and runny and gooey with little bits in it." Learning that the herbs don't change their state unlike the powders and liquids.


 It's too "thin" we should add more flour to make it "thicker"


 "Woah! Look at the difference. It is so sticky and thick now"


 The more she mixed the thicker and stickier it got


One lesson for Mum despite the size of the art smock... perhaps shorts will work better next time. Definitely old clothing.


Handy Tips:

- Use whatever ingredients you already have at home. I try to use old pantry items that have been sitting around for a long time that I probably should replace anyway.

- Talk with your child about what they are doing. This will help them understand the physical and mental processes they are going through as well as giving them the vocabulary to describe it.

- Use new language and descriptive words like, "frothy, thicker, squishy" etc. This will help with their language development.

-Ask questions to help connect their understanding and use vocabulary to give them words to describe what they're experiencing. Eg, "What are the little lumps in your mixture?", "It's very runny, how could you make it thicker?", "It's very thick, how could you make it thinner/runnier?" etc

- Take the time to focus on improving particular skills with your child and help them to practice, ie, pouring so that all the liquid goes in the container etc.


Happy playing,
Debs :)


New Here? Subscribe to get all activities sent directly to you
Enter your email address:


Delivered by FeedBurner
Continue reading...


Rice Play: Find the Magnetic Letters

Mar 5, 2012

This activity is a great way to help your child learn letters (or numbers etc) by having them search for the letters in a fun, tactile way.


After hiding the magnets, I provided the tray full of rice and a paintbrush and demonstrated how to brush at the rice like a scientist would to delicately find what the rice was hiding.


Finding the first letter was very exciting!


Once all the letters were found she tipped out the rice and arranged the letters again herself


Tip the rice back on and begin all over again


Some tips:

- Use magnetic letters or numbers in a metal cake tin so that they stay where they are put

- Simplify this activity by focusing on only 1 letter/number at a time and by tipping the rice in the container for your child

- Extend this activity by using many letters/numbers to recount and practice what they know. Use a much larger metal tin to make them harder to find.

- Make the letters/numbers harder to find by using coloured rice

- This activity helps your child practice their hand-eye coordination, literacy/numeracy skills, fine motor skills etc

- Role play. Your child is a "Letter Scientist" etc and they are on an important mission to discover new letters... be as creative as you like! By adding role play, you are adding a whole other element of learning and imaginative play. It can also make it more interesting and FUN.

Debs :)

Continue reading...


Fun with beads

Feb 24, 2012

Beading is a fabulous activity for young children of all ages as they can learn about colours and patterns while practicing their fine motor skills.

Different sized and shaped beads are readily available to suit all skill levels and depending on your child's interests and patience, beading could keep them occupied for ages!

 Pouring the beads, practicing co-ordination


 Loving touching all the beads and letting them run through her fingers. Very tactile.


 Sorting the beads into various shades


 It helps to tape one end of the string down when beading with small beads


Practicing fine-motor skills


Some tips:
- To simplify this activity for younger children or those who would find small beads too fiddly, use the large wooden or plastic beads first.
- To extend this activity, try a focus on making patterns. If not experienced with patterns, try using just 2 colours first and look at the different patterns that can be made with them before adding in extra colours.
- For beginning sorting, use beads of primary and then secondary colours before talking about and attempting to sort different shades of colours.
- Use beads in a sensory tub or just to play with etc.
- Always supervise small children with beads as they can pose a choking hazard.

Debs :)
Continue reading...


Gooey Flour Fun!

Feb 20, 2012


If your child is anything like my child, then the idea of experimenting and playing with real ingredients is very appealing.

This activity has a couple of different elements to it and therefore practices many skills and provides many opportunities for learning.

Squishy gooey fun = learning!

From pouring, measuring and mixing to squeezing, drawing, creating and playing, this super sensory activity could keep them entertained (and learning) for ages!


 Using whatever quantity of plain flour you'd like to give them, combine enough water to make a gooey but not too runny, paste. This is a good time to allow your child to experiment.


 Once the flour paste was ready we divided it into separate ziplock bags and added a different colour into each bag. (We used a small amount of paint but food colouring would be good too)


 Once you've added the colour, seal the bag and then let your child play with and manipulate the bag until the colour is mixed through.


 Our 2 bags are ready for use.


 Snip off a small corner of one of the bags and let your child pipe to their hearts content


 Practicing drawing lines


Listen to your child as they experiment and talk with them about what they are doing. Here my daughter was creating "little ponds and rivers that flowed into each other".  


 After a long play with the blue colour and after swishing it into a gigantic "pond" it was time to add another colour.


 We talked about the contrast the colours made and she observed how the pink smoothed out across the blue paste easier than straight on the paper.


 Time to swirl the colours together.


Talk about how it feels on their hands and between their fingers.


Look at how it stretches and falls onto the paper. Whoops, the paper got a hole in it, why?


Handy Tips:

- To get the right consistency for the flour paste will take a bit of experimenting. Encourage them to add the water slowly and keep mixing so as not to add too much.

- To add the colour we used a small amount of paint but you could use food colours or whatever you have on hand.

- To simplify this activity, cut out the amount of processes your child participates in. Perhaps just provide them with the bags readymade and let them squeeze it out OR instead of squeezing, just provide them with the flour paste to play with

- To extend this activity talk about colour mixing when adding the colour to the bags. The red paint turned the flour paste pink because of the white base etc. Try adding two colours to one bag to see the colours combine and learn which colour they create. Try making a couple of different consistencies and see what difference that makes.

- When talking with your child, listen to what they say and then repeat it back to them using different descriptive words to broaden their vocabulary.


Happy playing,
Debs :)


Look where else we are. Do you play with us here? :)
New Here? Subscribe to get all activities sent directly to you
Enter your email address:


Delivered by FeedBurner
Continue reading...