"Snackboxes" Healthy Food for Kids

Feb 29, 2012


Here I share a method (that's worked for us!), of feeding your child, healthy food in kid sized proportions throughout the day, without tantrums, fights or constant pestering!

You can also use this style of food presentation for a healthy and rubbish free lunchbox for school.


Here are the 3 simple steps to give this method a try with pre-schoolers at home, with a more detailed explanation below the pictures.


1. Prepare the day's food (morning snack, lunch and afternoon snack) at the beginning of the day (not including breakfast and dinner)

2. Display it in a way that is appealing to the child and then show them and talk about their day's food

3. Put the "snackbox" on the bottom shelf of the fridge where your child can access it and let them choose what they eat and when they eat it.

Some examples of our "snackboxes"


Explanation:

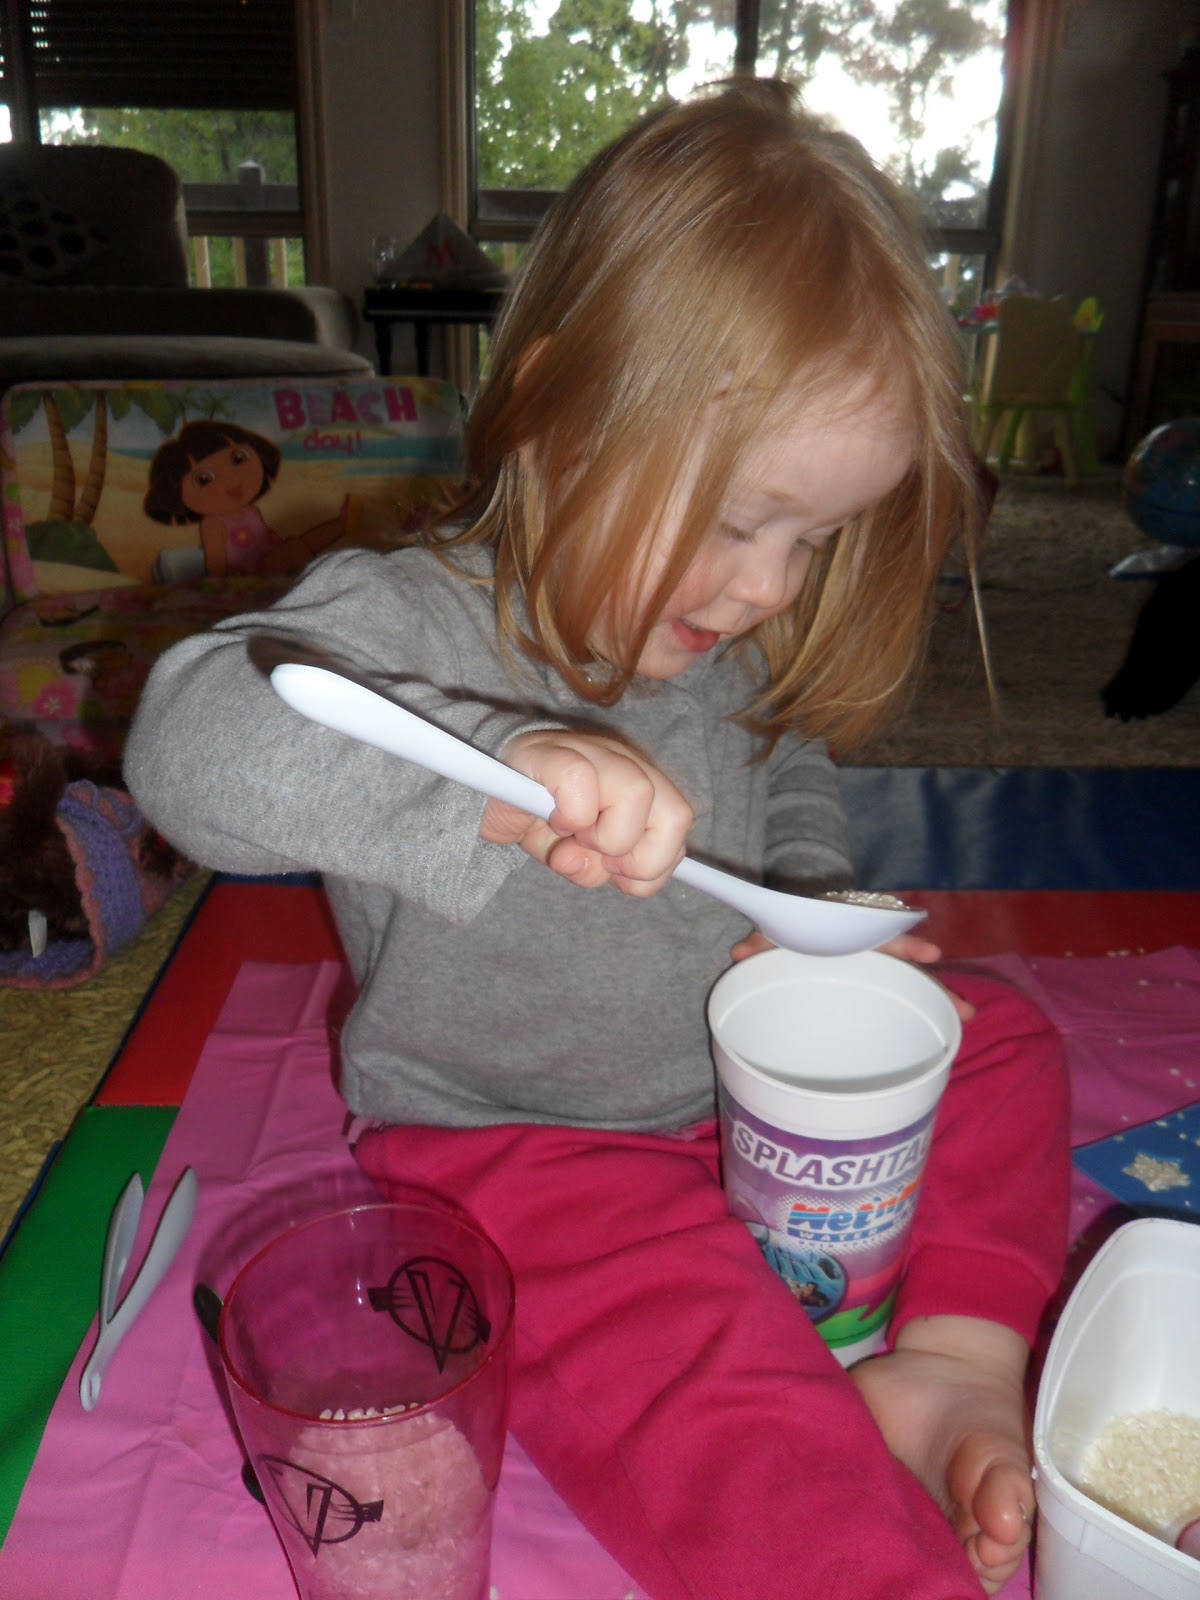
My daughter, who has recently turned 3, has always been a food lover. This is generally a good thing as she will usually try new foods without too much resistance, but as she got older I was finding her becoming pickier, more demanding and it felt as though I was making her food, all day long.
On top of that, as she was eating (what felt like) constantly throughout the day, when it came to dinner time, we were struggling to get her to eat her dinner.

I decided it was time to give something new a try and thus, our "snackboxes" were born.

Now, in the mornings, as she eats a healthy breakfast, I prepare a "snackbox" of all the food that I want her to eat throughout the day. This includes morning tea, lunch and afternoon tea.

Seeing ALL her food for the day is very exciting for my daughter.. and the better presented, the more excited she gets about it. (Yes, EXCITED about cucumber sticks, haha).
Before, if she declared her hunger and I suggested some carrot sticks or cucumber or the like, we had a big fight over it and she would refuse to eat them. She wanted what she wanted (and it wasn't what I wanted).

The next part was relinquishing the control of what she ate when. I already regained control over what she was eating, but letting her decide what (from the snackbox) she wanted to eat and when she wanted to eat it was a little scary at first, but worked wonders!

Yes, I was worried (as was my husband) that she would just eat the entire day's food before the day had barely started, but I made a point of talking about her choices and how if she ate all the food too early, she would end up very hungry as the day went on and that there was no more food until dinner.

At the beginning, I did have to remind her of this many times and suggest she wait a while longer between snacks. Over time she has started to get to know her own body better and eats more out of hunger now than just entertainment.. AND, BONUS she is now hungry for dinner and so almost always eats all of what is put in front of her. Yay!


For more snackbox and food for kids ideas
check out my "Food for Kids" page and 
my "Food for kids" Album on my Facebook Page


Hope it works for you!


Edit: I've had many enquiries about the products I am using.

The container pictured here is the Decor Tellfresh Quarters container.
On their website it is listed as "Pumped® Sandwich & Snack Twin Pack / Sandwich Plus"


You can source the food picks off ebay by typing in "Bento" (for all kinds of amazing products) or "Food Picks" (If you're just being specific).


How do you ensure your kids are eating the right foods and right amounts? Feel free to share any ideas you use in the comments.


Happy eating,
Debs :)


New Here? Subscribe to get all activities sent directly to you
Enter your email address:


Delivered by FeedBurner

Are you on Facebook? We are and we'd love to see you thereHey, we're also on Twitter now too. :) 


Continue reading...


Rice Play: Pretend Cooking

Playing with rice is a great tactile experience for children. Here I provided some basic "tools" and then let the playing begin.

As we were using a real ingredient, Madeline wanted to pretend to be cooking.


Using fine motor skills and coordination to move rice from a container to an ice cube tray with small tongs


 Some of the tools. Large spoon, small spoon, small tongs, measuring cup, scoop


 It takes time and concentration to fill such small holes


 Filled! Little "cakes" ready for serving


 "I'm making you a milkshake." Using a shaker and large cup to practice pouring and shaking


 Carefully spooning rice into a large cup and dividing it up between the cups


 Hand eye coordination working hard


Now I'm a chef. Adding her cooking apron and hat to get into character

Some tips:

- Try getting out a few different tools and vessels each time you do rice play to get a different learning experience each time and to practice different skills

- Whilst rice is easy to vacuum up, if you want to re-use it (waste not, want not) for future rice play, you will need a mat underneath and to encourage your child to attempt to keep it off the floor

- Dressing up can play a part in your child's experience. It may add a different element or change the direction of their play. How would a cowboy play with rice? (Why not find out?) :)

- Use correct vocabulary to describe the processes and experiences your child is having while they are playing. This puts it into context for them and helps develop their literacy skills

- Make your child aware of the problem solving they are doing. "How did you get the rice from that container to that container?" "That was a great idea" "How will you pour it into such a small hole without spilling it everywhere?" etc


Debs :)


Continue reading...


Free Play with Craft and Recycled materials

Feb 28, 2012


This activity is just about letting your child choose, experiment with and get creative with a range of recycled materials and craft supplies.
Children need to be able to experiment with materials without always having a desired end result or a specific procedure to follow.
Allowing them to choose the direction of their play lets them be creative, use their imagination and follow their own direction.
Sometimes you can be amazed by what they come up with. Ideas you never would have had…

Set out a range of craft supplies and recycled materials along with glue, tape etc so that they can be easily seen and accessed by your child


 Straight away, Madeline knew what she was making... I didn't


 Feeling all the different materials and textures while choosing appropriate materials and using fine motor skills for her construction


Her end results. Little cakes! Next step; open a cake shop and start imaginative play.


Some tips:

- Use whatever craft and recycled materials you have on hand or let your child choose a selection of items

- Assist your child as much or as little as needed to simplify or extend this activity

- When displaying materials, I like to group them in like materials/textures. So for example, I would put paper items together, soft pompoms and cotton balls together, string and wool together, paddle pop sticks and other wooden items together, shiny things together etc so that my child can easily find items and subconsciously learn about grouping and categorising

- This activity can be repeated time and time again with a different end result each time. Mix around and change some of the materials that you provide each time to inspire new ideas

- Talk with your child about the physical and mental processes they are going through. Ask them questions to help connect their understanding and use vocabulary to give them words to describe what they're creating, eg. "What are you creating?" "Why did you choose that?" "How are you going to attach this to that?" "I love how you've arranged them on the shiny, silver doily" etc

- Remember that sometimes children just create, they don't need it to be a specific item at the end. It could just be an abstract creation. Allow this and don't push them to think they must make something "real."

Debs :)
Continue reading...


"Elephants Balancing" Picture and Song

Feb 27, 2012

Using the popular children's song "Elephants Balancing" as our inspiration, we create an easy but super cute picture.

Using memory to recreate the picture, fine motor skills to assemble it all, reasoning to figure out the order of pasting, verbal communication and recount to sing the song and early mathematics skills to count and add the elephants, makes this seemingly simple little activity full of fun and learning.


We used 3 elephants that we cut out of some recycled wrapping paper, 3 green kinder circles, some brown paper for the tree-trunks, a piece of string and a couple of pieces of paper to mount it all on.
Before sticking it all down, we created the picture first, rearranging it until we were happy with the design


 The next part of the activity included sticking down all the pieces back in their original places. Talk about the steps/order and layering. Which pieces need to be glued first? What would happen if we stuck the string down first? etc


Madeline's finished picture after she re-arranged it and glued it all down

Song Lyrics
One grey elephant balancing
Step by step on a piece of string
Thought it was such a wonderful stunt
That he called for another elephant

Two grey elephants balancing
Step by step on a piece of string
Thought it was such a wonderful stunt
That they called for another elephant

Three grey elephants balancing
Step by step on a piece of string
Thought it was such a wonderful stunt
That they called for another elephant

Four grey elephants balancing
Step by step on a piece of string
Thought it was such a wonderful stunt
That they called for another elephant

Five grey elephants balancing
Step by step on a piece of string
All of a sudden the piece of string broke
And down came all the elephant folk


Some tips:
- Use any elephant pictures you can find or draw them yourself. Cut them out of a picture, print some off the computer or make them from your child's hand prints etc.
- As our elephants were white (not grey), we had to change the lyrics in the song to suit our picture (eg "3 white elephants balancing...")
- To simplify this activity, do the cutting and arranging yourself and assist your child in sticking the pieces down, recalling where they went and the order they get stuck down while singing the song.
- To extend this activity, allow your child to do the cutting, arranging, memory recall, sticking etc as they are able.
- Figuring out the process and order to stick down the pieces will be challenging for young children so continue to communicate with them throughout the activity
- Here is a youtube video of the song with elephant puppets to compliment the activity: http://www.youtube.com/watch?v=4QXkFtdFy0A&feature=related


Debs :)
Continue reading...


Toddler pom-pom push

Feb 26, 2012

A simple little activity to practice fine-motor skills, patience and concentration.

Children love using soft, colourful, fuzzy or sparkly things and pom-poms are a fabulous material that you can use for SO many different activities.

 Using this basket, we discover that pushing the pom-poms just half way through the holes keeps them in place. Push too hard and they pop all the way through. Pushing them in just half way required concentration and patience.


Once all the pom-poms were in the holes, it was time to push them back through and into the basket to start again.

Some tips:

- As it's very unlikely you will have this type of basket at your house, have a look around (or get your child on the job!) and see if you can find something with holes that pom-poms can be pushed into.

- If you can't find anything suitable, punch holes (just large enough to just fit the pom-poms) in a washed out milk carton or cereal box etc.

- This little simple activity requires patience and concentration, something that most children would benefit from working on

- To extend this activity, focus on various patterns that you could make with the pom-poms in the holes

Debs :)
Continue reading...


Cooking with Kids: Lemonade Scones

Feb 25, 2012

Using this simple 4 ingredient recipe for scones is the perfect way for your child to whip up afternoon tea for everyone with very little assistance.


Preheat oven to 220° C (430° F)


 Measure out and sift 3 cups of self raising flour. Count them, 1, 2, 3.


 Add 1 cup of cold lemonade


Wow! Look at it fizzing up! 


 Add 1 cup of cream


 Mix to form a soft dough


Knead the dough on a floured surface. A fun tactile experience.


 Knead the dough out to about 2cms thick and cut with a floured cutter


 Place them close together on a baking tray so they help one another to rise


 Brush the tops with beaten egg (or milk). Bake in oven for 10-15 mins


 Serve with your favourite toppings


Delicious. 2 thumbs up!

Some tips:

- Simplify this activity by measuring all the ingredients yourself and allowing your child to pour them in and practice their hand eye coordination. Get them to count the cups of flour with you.

- Extend this activity by letting your child attempt all the steps and processes independently

- Continue to talk with your child about the methods they are using and the easiest ways to do them. Remember that practice makes perfect!

- Include the correct vocabulary for the techniques etc to help extend their vocabulary and understanding

- Use this time to talk about "Sometimes foods" and "Everyday foods"


Recipe Source: http://www.bestrecipes.com.au/recipe/Lemonade-Scones-L325.html Tried and tested by us with great results!

Debs :)
Continue reading...


Fun with beads

Feb 24, 2012

Beading is a fabulous activity for young children of all ages as they can learn about colours and patterns while practicing their fine motor skills.

Different sized and shaped beads are readily available to suit all skill levels and depending on your child's interests and patience, beading could keep them occupied for ages!

 Pouring the beads, practicing co-ordination


 Loving touching all the beads and letting them run through her fingers. Very tactile.


 Sorting the beads into various shades


 It helps to tape one end of the string down when beading with small beads


Practicing fine-motor skills


Some tips:
- To simplify this activity for younger children or those who would find small beads too fiddly, use the large wooden or plastic beads first.
- To extend this activity, try a focus on making patterns. If not experienced with patterns, try using just 2 colours first and look at the different patterns that can be made with them before adding in extra colours.
- For beginning sorting, use beads of primary and then secondary colours before talking about and attempting to sort different shades of colours.
- Use beads in a sensory tub or just to play with etc.
- Always supervise small children with beads as they can pose a choking hazard.

Debs :)
Continue reading...


Make your own Sound Effects!

Feb 23, 2012


This activity lets your child experiment with sound in a super fun and engaging way.

You'll need any musical instruments you have and a favourite television show (that's sure to get them interested).

Spread out the musical instruments so they can be easily seen and accessed by your child and have them make all the sound effects for a favourite show/scene etc.
(The slide whistle was a favourite effect!)


Some tips:

- If you don't have any musical instruments, use things like pots, pans, wooden spoons, containers of rice etc.

- Turn the TV on mute so that your child can be responsible for ALL the sound associated with the program

- Talk with your child about which sounds are the most appropriate. Which instruments make sounds that are close to what the real sound would be?

- Mix up the activity by choosing silly sounds. Find the sounds that are the most UNLIKE what the real sound would be. This provides lots of laughs.

-Extend this activity by discussing emotions etc. and the types of sounds that your child would associate with various emotions.

-Simplify this activity by selecting a particular scene in a show (ie- an elephant walking) and just focus on trying all the different sounds until you find the one that your child agrees would be the most like the real sound. (ie. probably closer to a banging drum sound than some jingly bells)

- Replay the show or scene with the sound on and see how close the sounds were that you chose.


Debs :)
Continue reading...


Magic Milk and Brilliant Bubbles

Feb 22, 2012

This is a fabulous little experiment that will delight your children (and you, thanks to how easy it is).

It takes very few ingredients that can be found easily around the house.


 Pour enough milk to cover the bottom of a plate


 Add some food colouring


 And then some dishwashing liquid to the centre of the food colour


 It instantly splits the colour and gives you a tie-dye effect. "Woah!"


 After splitting it as far as we could, adding more and more dishwashing liquid she used a paddle-pop stick to swirl it all together


 Experiment over? It could be, but no, let's add a straw and blow bubbles. Talk about your observations


 Will the same experiment work with water instead of milk? You'll have to try to find out. If your child is ready, talk about why or why not.


 Bubble blowing is so much fun that it doesn't matter the result!


Wow! "When I blew really softly I made a GIGANTIC bubble"


Some tips:

- To simplify this activity, pour the milk and food colouring in yourself and have your child dip a cotton tip in detergent and then into the food colour

- To extend this activity, try using lots of different colours on the one plate and see what happens. Can you and your child create a colour wheel?

- You can use this activity to experiment with colour mixing

- Talk with your child about what they think is happening and why. Use different vocabulary and lots of descriptive words (adjectives) to extend their literacy skills.

- If blowing bubbles, see what the difference in the bubbles is if you have more or less detergent or if you blow harder or softer.


Debs :)
Continue reading...